So this entire page is all dedicated towards my CC-01. This is mainly due to a page limit set by weebly, so just scroll down to find the different projects.
Current Projects here:
Current Projects here:
- Spur Gear Upgrade
- Ball Bearing Upgrade
CC-01 SPUR GEAR UPGRADE
Due to recent events the spur gear on my cc-01 got stripped. Here's the story.
So the beginnings of the damage didn't occur during running of the chassis, which is why it never shows to break in any of my youtube videos. The breakage just seemed to happen while it was lying on the shelf ready to be used again.
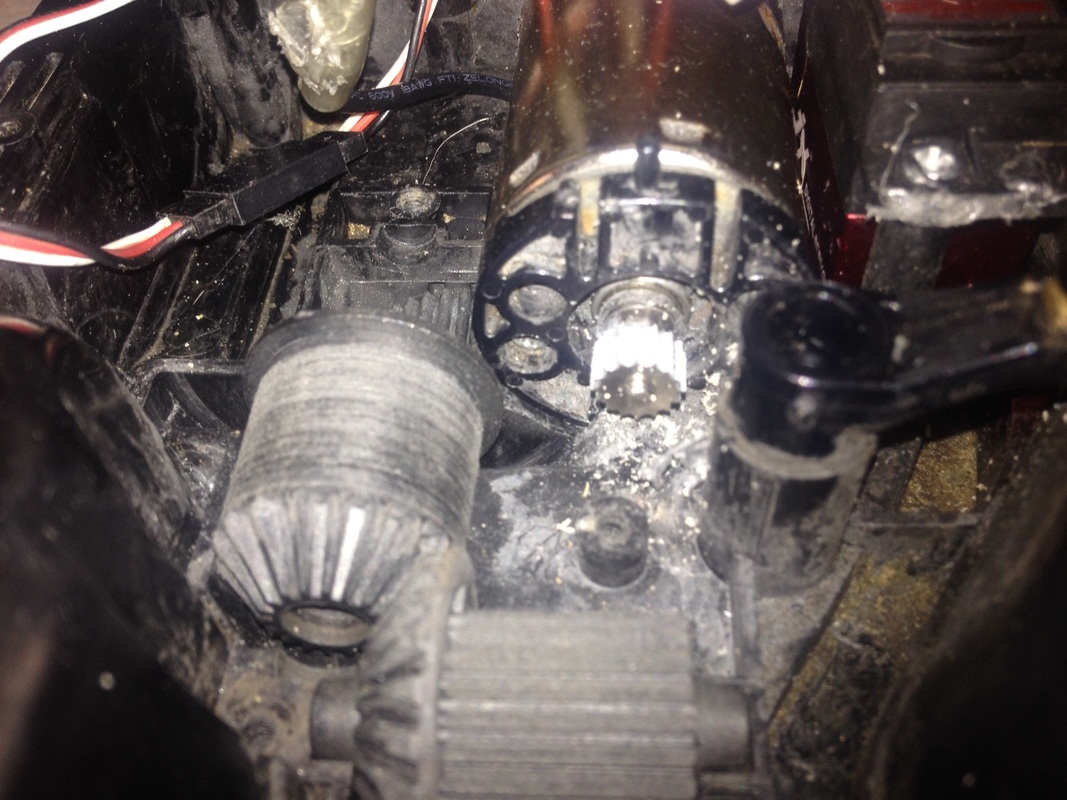
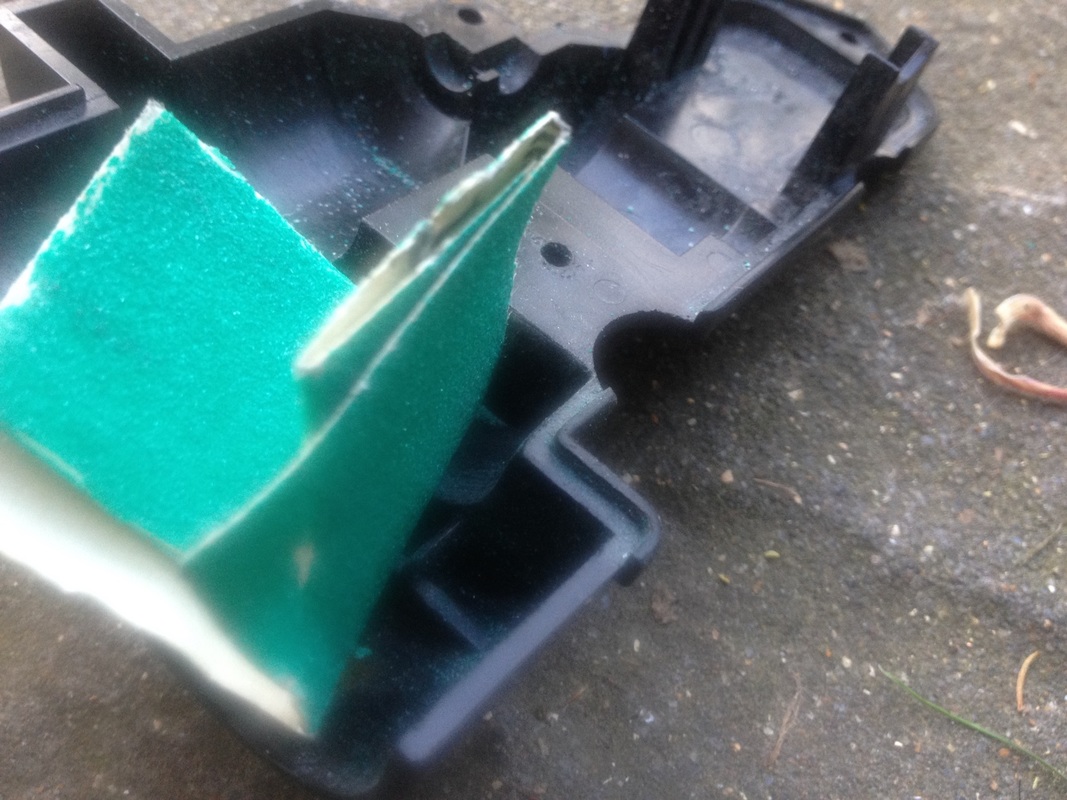
unfortunately i think i threw away the stripped spur before i got the chance to photograph it, so heres a look of the inside of the chassis, where the gear once was. I probably stripped the pinion gear down too. The gear attaching to the front diff still exists as that can be detachable.
At that time i was due to take the chassis to a great filming location, but since it was late on thursday at the time i had no choice than to postpone that. So i started looking around for some upgrades. Initally due to the time i came across this.
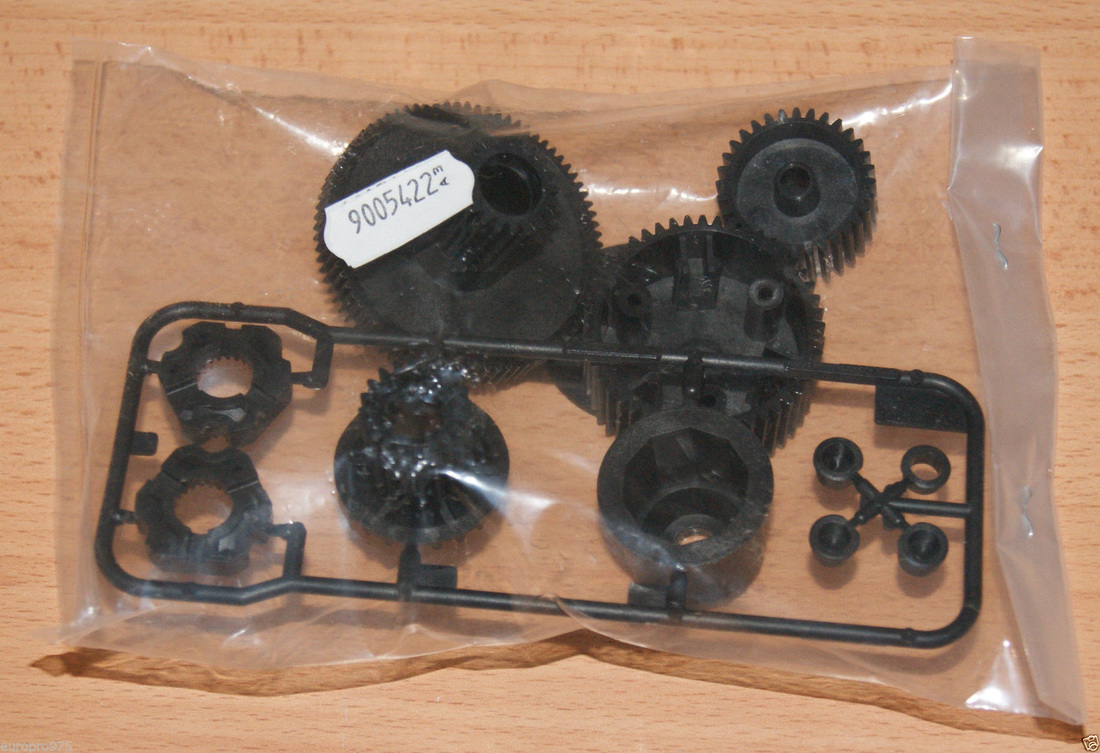
This is the CC-01 parts bag being shipped from the uk. I messaged the seller asap to see if he could just sell me the spur gear (shown top left) but he couldunt, and anyway by that time the post wouldn't deliver in time, so instead i decided to start looking for an actual upgrade, and what first came to me are these:
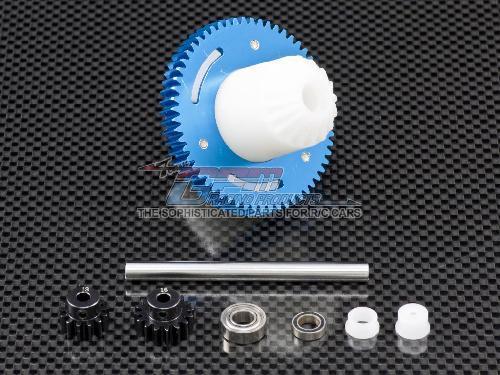
The problem with these are that they only seem to ship from china, and so will take up to a month to arrive. So i started looking elsewhere, and i found a self built company who makes upgrade parts for the cc-01 and thankfully he makes an upgrade spur that ships from czechoslovakia.
The spur features much bigger teeth to last for a suspected 5 years, much longer than the tamiya's 1 year due to its also 'super high grade plastic' .The included pinion is also an upgrade with much lager teeth, that needs modification to the chassis to fit without rubbing.
Link: http://www.rc4x4-shop.com/Modified-Spur-Pinion-for-CC-01-XC-d91.htm
Link: http://www.rc4x4-shop.com/Modified-Spur-Pinion-for-CC-01-XC-d91.htm
The shipping still took a week from the czech republic to arrive, but the seller was very friendly and responded to all my emails, even at this current time when he was extra busy.
7-5-16
So finally it arrived! Time to get started.
So finally it arrived! Time to get started.
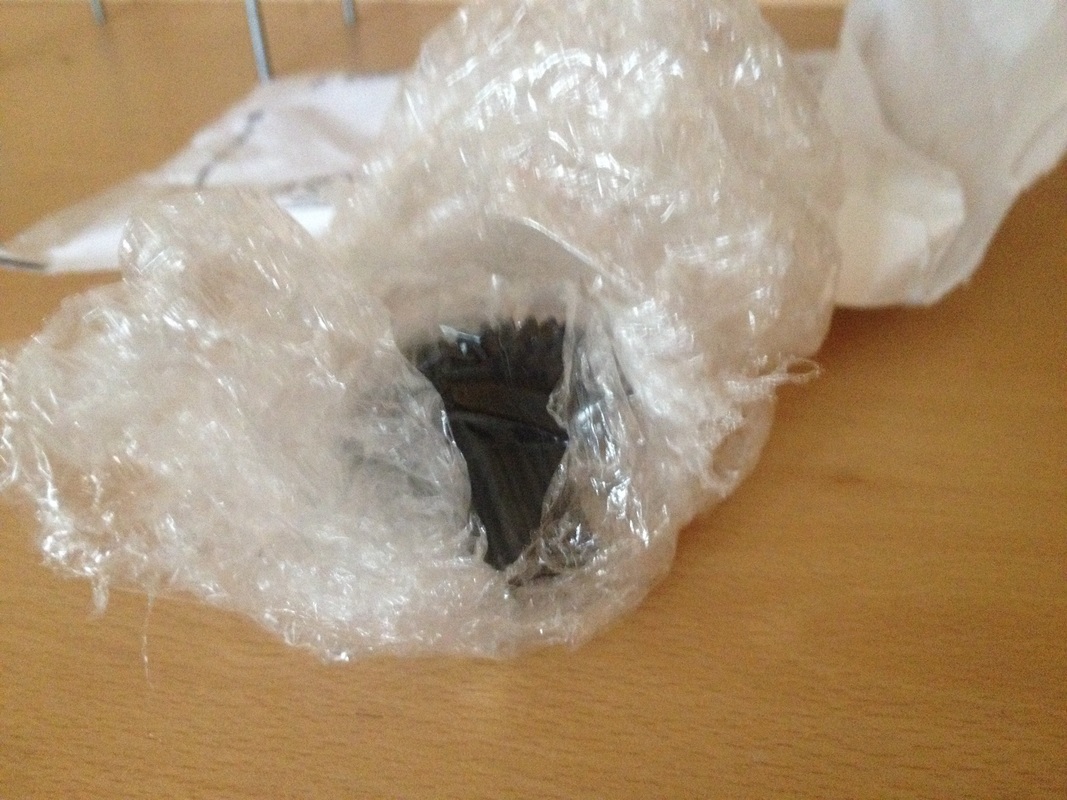
The gears were packaged extemely well and gave me confidence while unpaking that no damages have occured.

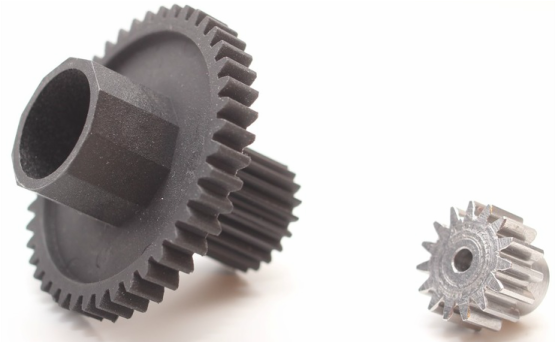
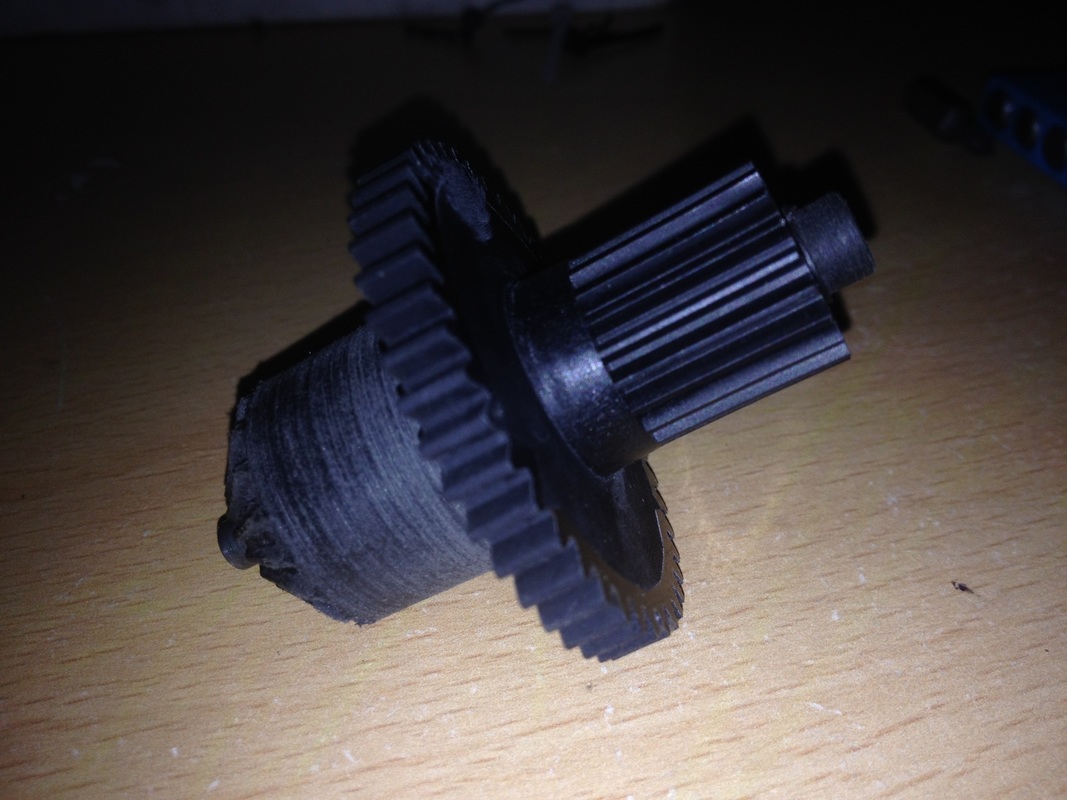
So here they are. he spur and included pinion with extremely large teeth.
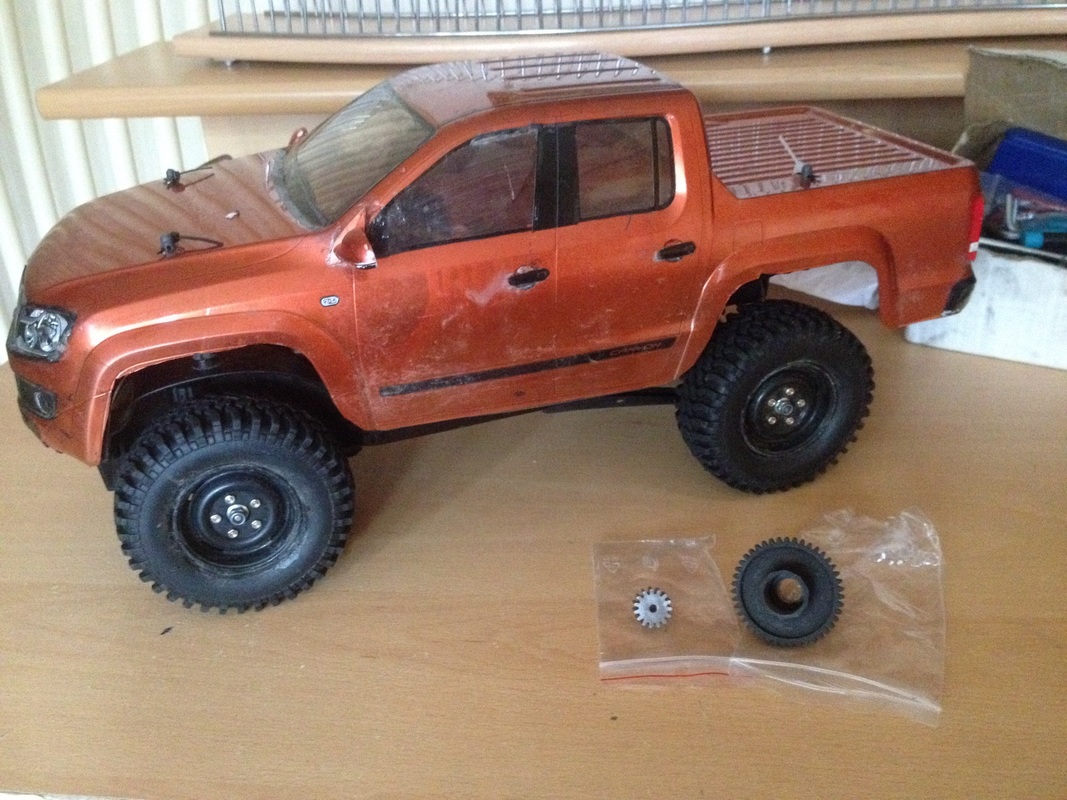
So now its time to fit it into my CC-01 Amarok.
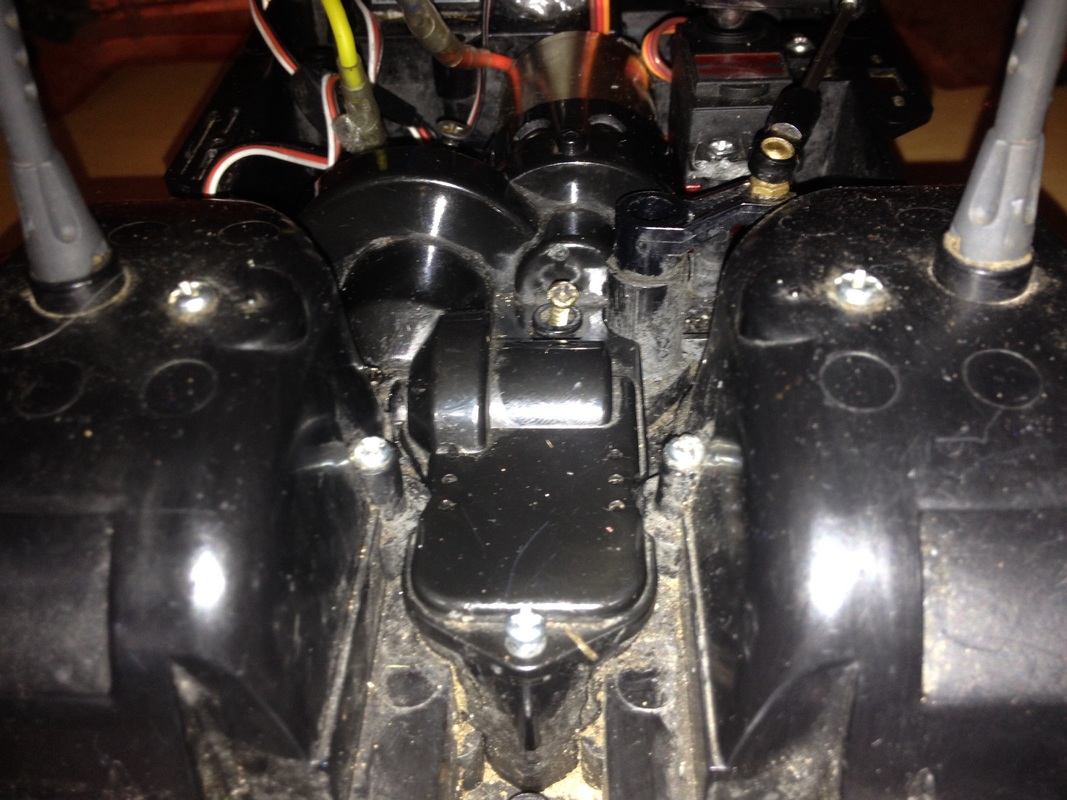
So i got started with taking apart the gear plate.
So here's the gear as of how i left it, and as you can see i left the seperate gear to connect to the front diff. This is necesarry as the gear kit does not come with this gear (and the bar of course)
And the gear fits perfectly on the original gear i left as shown above. So far so good then.
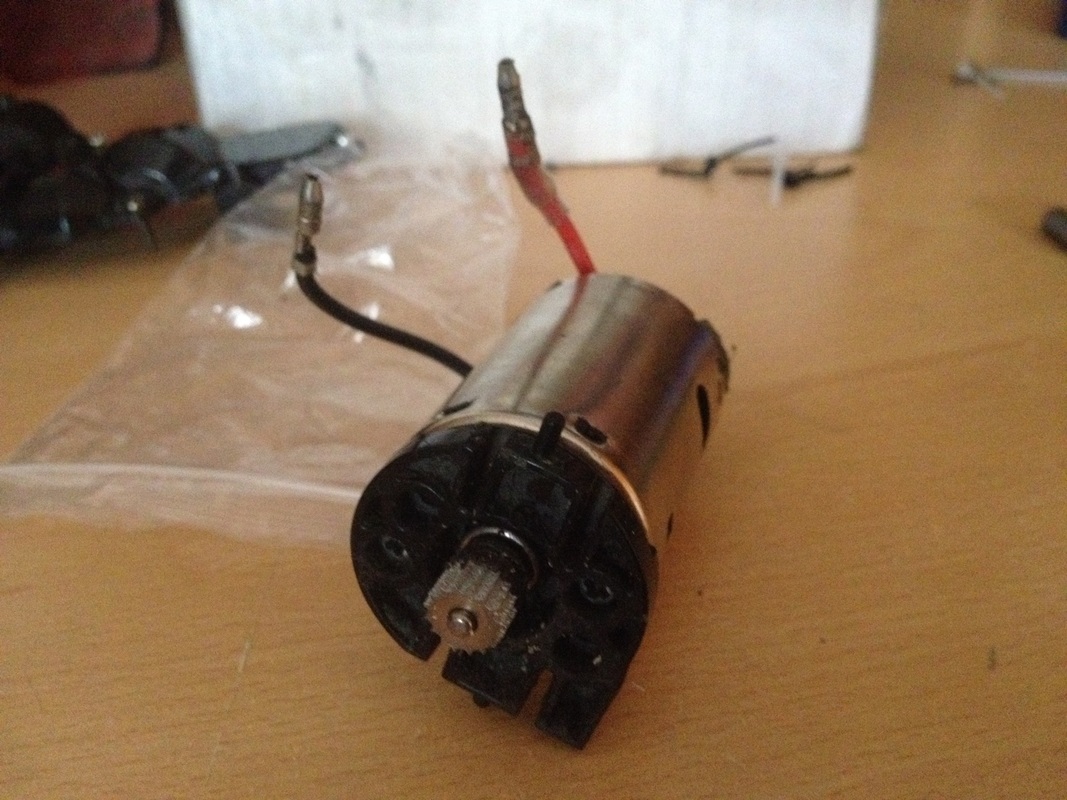
Now here's the motor with the original pinion, which was already strippped and unusable. That came in very useful later.


This is where the issues start to arrive. if you decide to do this upgrade and follow this guide, the guide will explain that after the HPI gearing case is fited to the motor, the position has to be set to 20. I regret doing this as i believed it slightly stripped my spur. If you do not do the HPI gearing case or have a suitably new CC-01 chassis like mine (2015), Keep the motor plate on 16 tooth. It binds better and dosent grind.
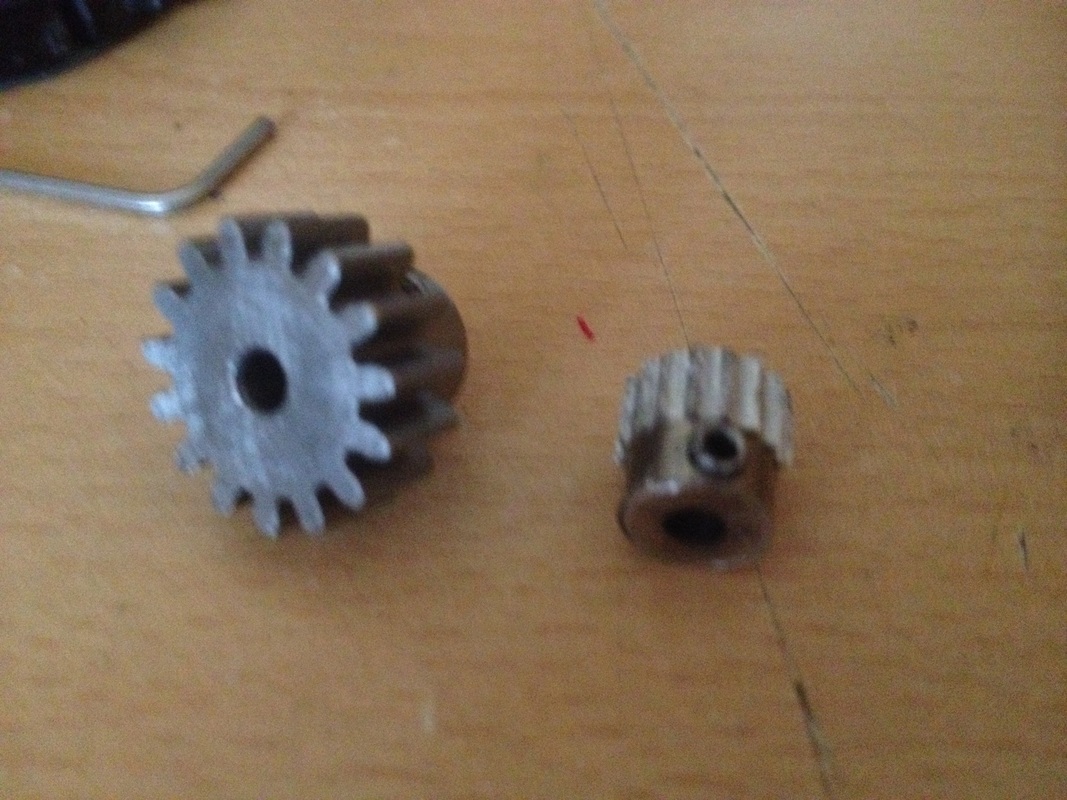
Here's the two gears, the old 16 tooth stock on the right and the new pinion on the left. One point i can't make any more obvious is that the new pinion does not come with a grub screw. This means you need to include your own, which should be taken from the old pinion as i did.
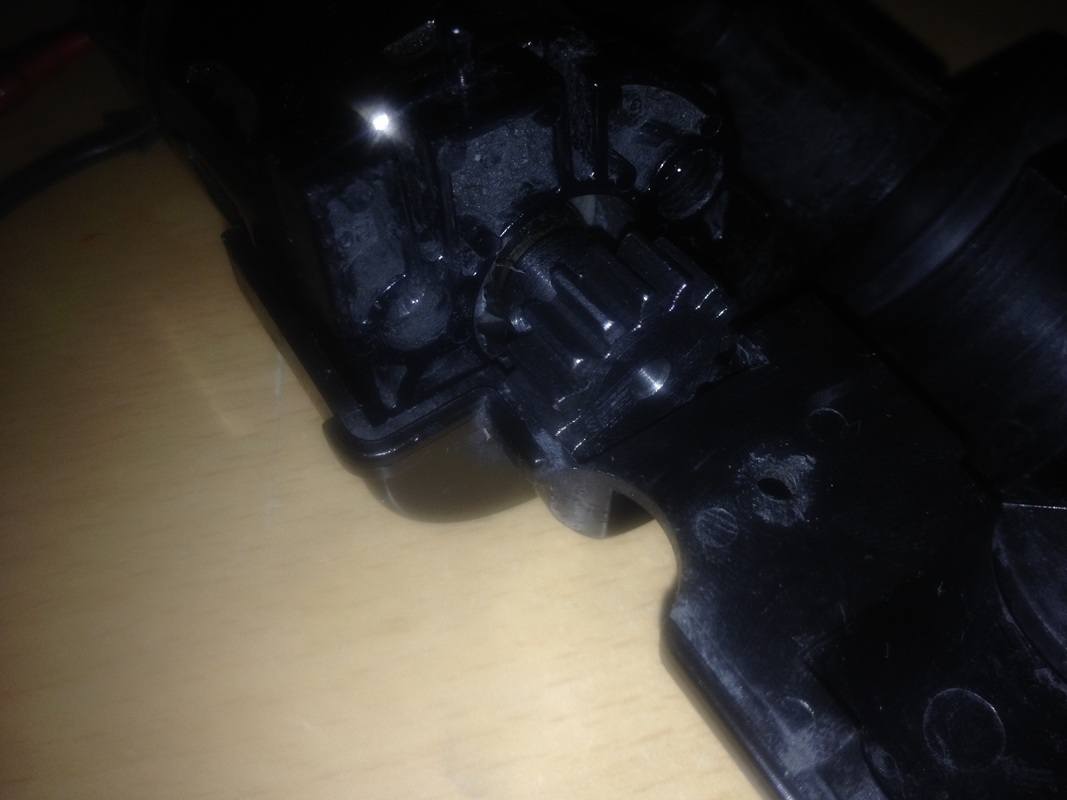
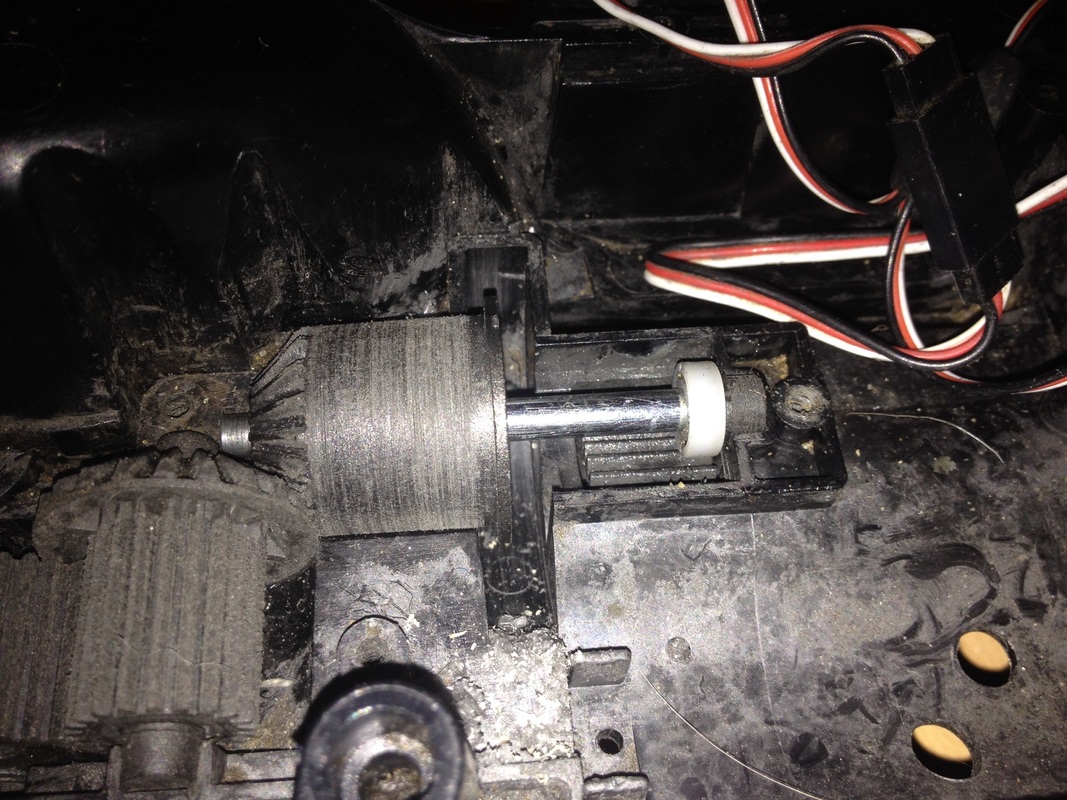
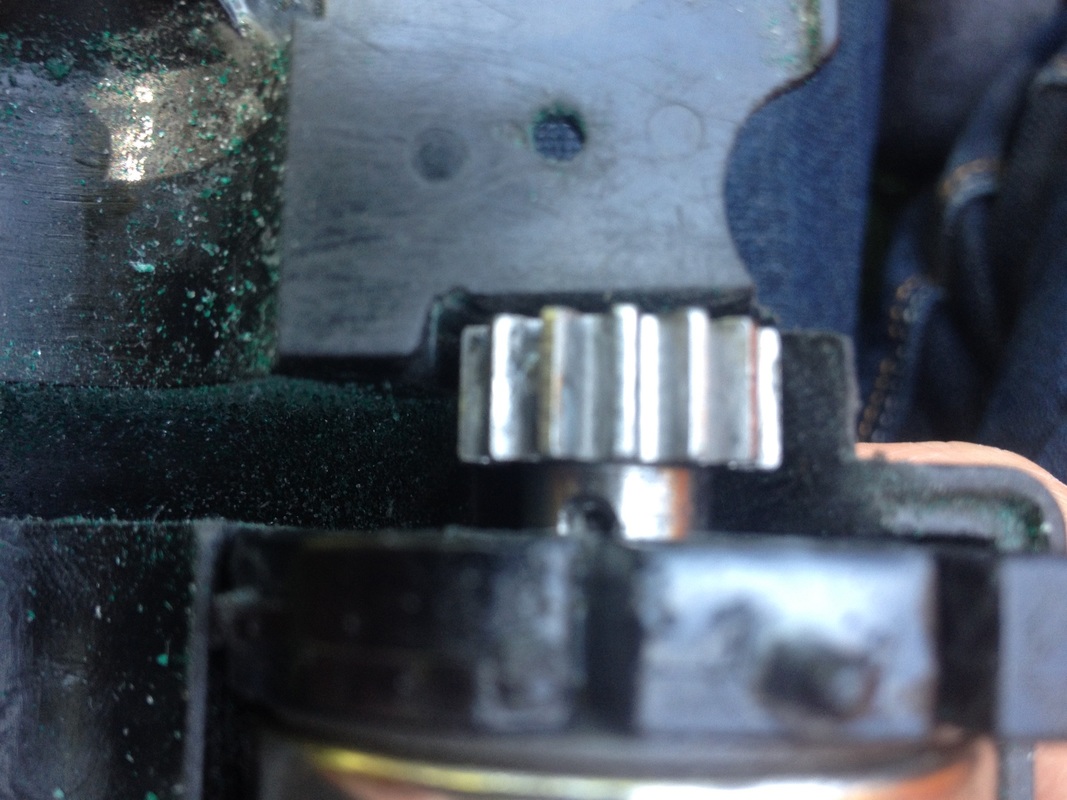
Here's a shot of the motor with the new pinion fitted in the gear plate. The plastic shown stops the gear from moving, so as instructed by the guide, i began to sand down the gear plate in that area.
Here's a shot of me sanding down the plastic with some sand paper. It sanded down very slowly from doing this, and as shown below from the guide given, a rotary tool with a sanding attachment is used.


So i decided to get creative with the useless pinion which i stripped.
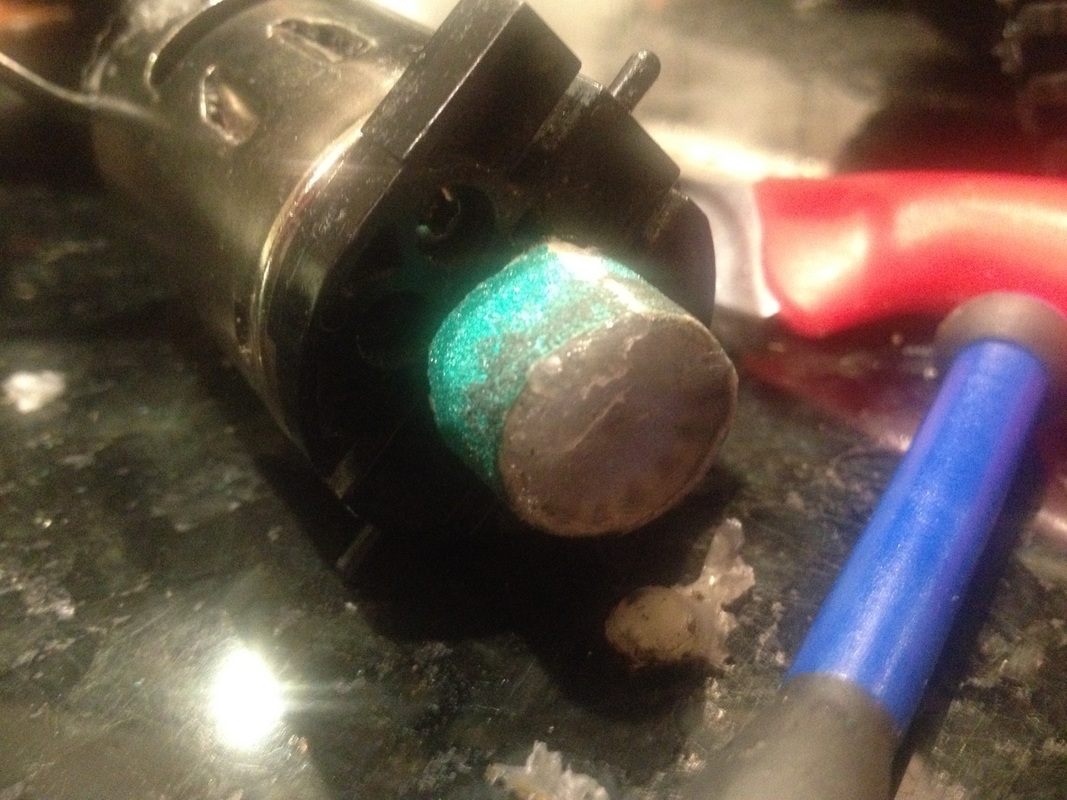
So here's what i did. I hot glue'd a strip of sandpaper to the old pinion as shown above, but that melted due to the friction. So i used loctite superglue and sanded it completely down and of course changed the pinon count to 16.
The gearing was then ready to use.
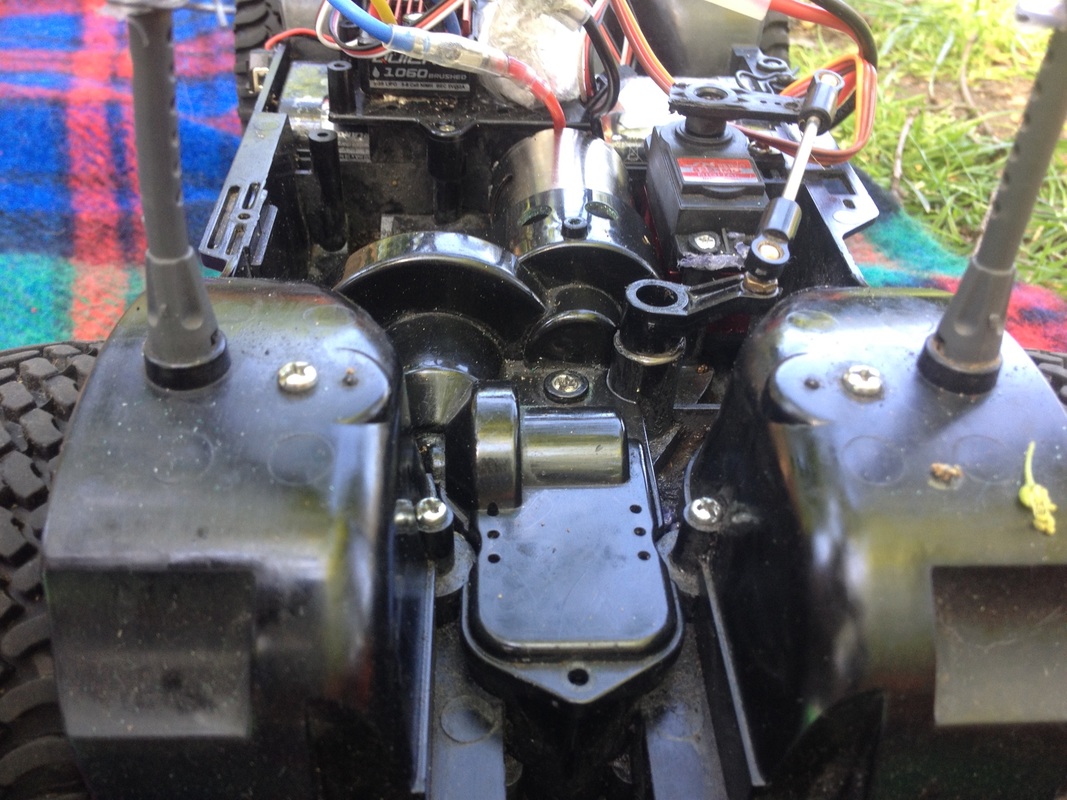
I then reinstalled the gear plate and was ready to use it for the first time.
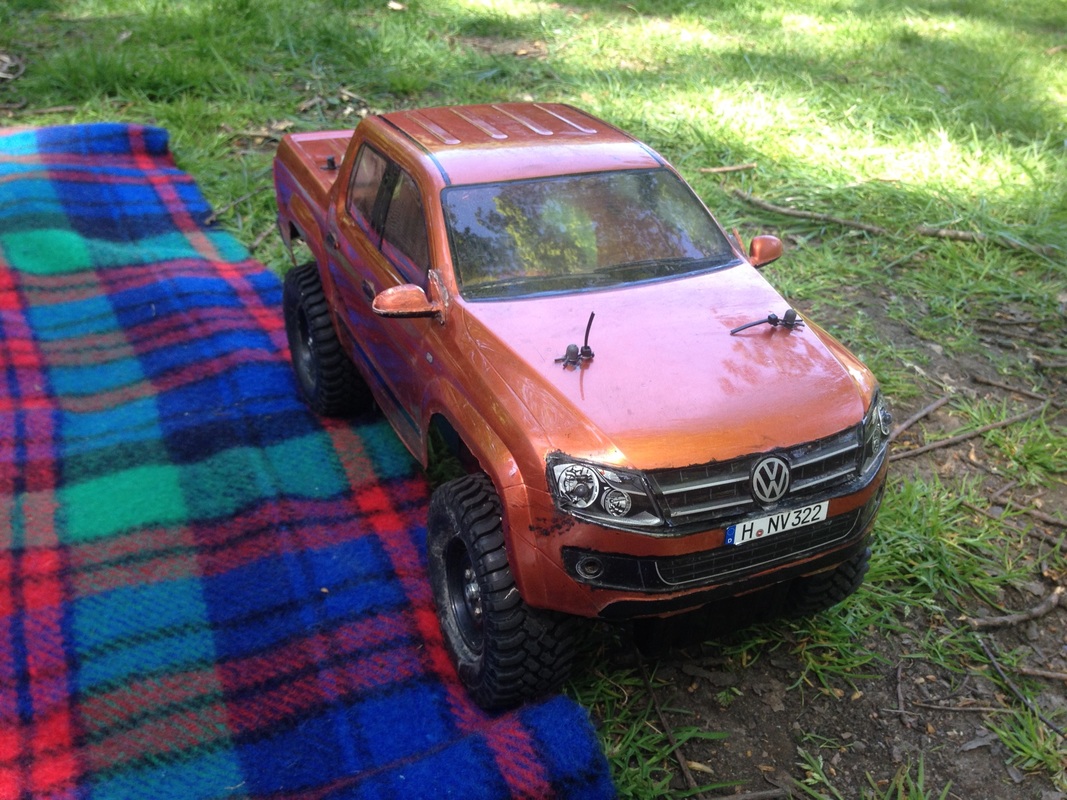
Its complete! But the reasoning for no new video is shown in the epilogue below.
Epilogue
The running was cut short, and heres why:

The running of the motor i use (RC 4WD 45T) is now very overused. It started to overheat a lot during the running with the new gearing and losing a lot of power, and me being stupid i did not bring my spares box and in turn was stuck with no motor at my filming location. I then decided to try to see if running the motor in water would clean it out and fix it, but the red wire came off. So instinctively i stripped down the wire and twisted it around the motor connector. The motor connector tab was then so corroded that it snapped off, making the entire motor obsolete.
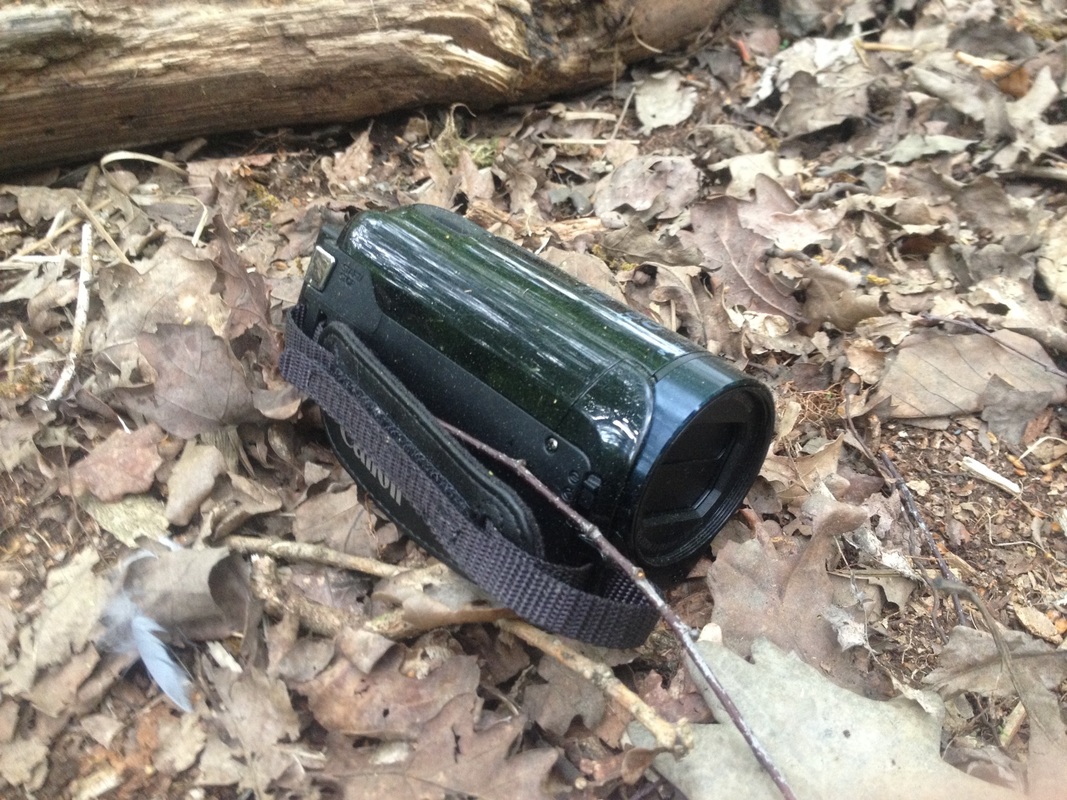
So after leaving feeling more dissapointed than having achived something, it took until around 10:30 that evening that my camcorder was missing. I checked everywhere, but nothing turned up. My last thought was back at my filming location. So the next day when i could i headed all the way back to look. I already had a faint idea of where it could be . And here it is, just lying there!
Links:
Installation guide - http://www.rc4x4-shop.com/fotky6819/fotov/_ps_91How-to-instal-modified-gear-set-and-HPI-Wheely-King-GRU-into-your-Tamiya-CC.pdf
Installation guide - http://www.rc4x4-shop.com/fotky6819/fotov/_ps_91How-to-instal-modified-gear-set-and-HPI-Wheely-King-GRU-into-your-Tamiya-CC.pdf
CC-01 BALL BEARING INSTALLATION
So, with the sale of some cheap CC-01 bearings on ebay that were shipping from the uk, i decided to snap them up before they were all gone.
As always i like to say the days it took to arrive, and it took 3 for me, being 2nd class. Im fine with that.
As always i like to say the days it took to arrive, and it took 3 for me, being 2nd class. Im fine with that.
