02-05-16
And now we begin another project...
This time a relatively cheap yet large rc boat (twin motor) found all acros ebay. Originally purchased by my sister for my birthday, i absolutely loved it. But as i grew older the cheap components like the shit motors, non replaceable waterproof boxed motherboard,no reverse, annoying water safety measures that got the boat stuck on a plank of wood recently and the signal strength on its 40.980 band was terrible. So i decided to try and upgrade:

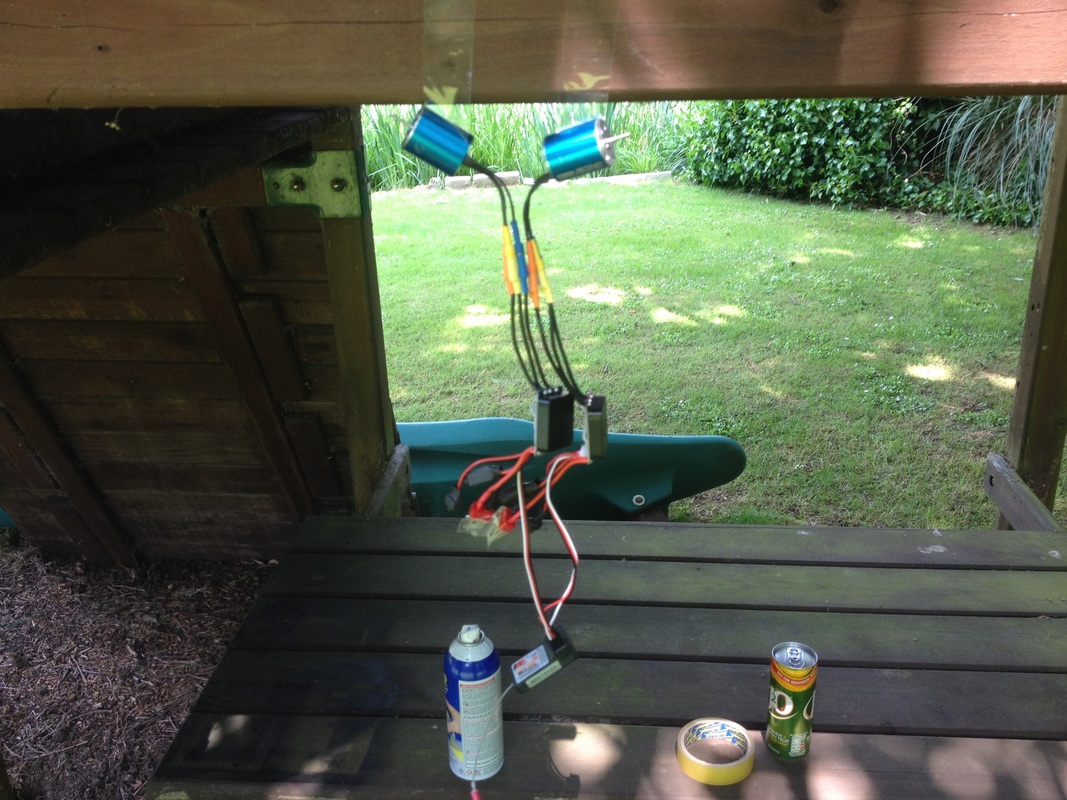
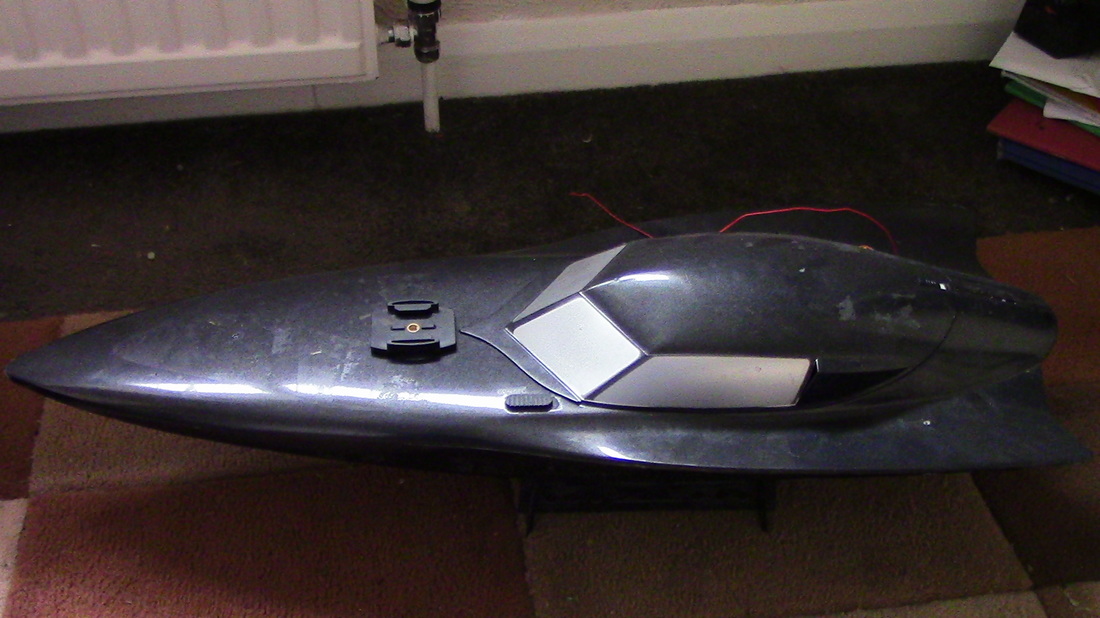
So here's the boat. Straight away what i could do with is getting rid of that pink straw antenna tube.
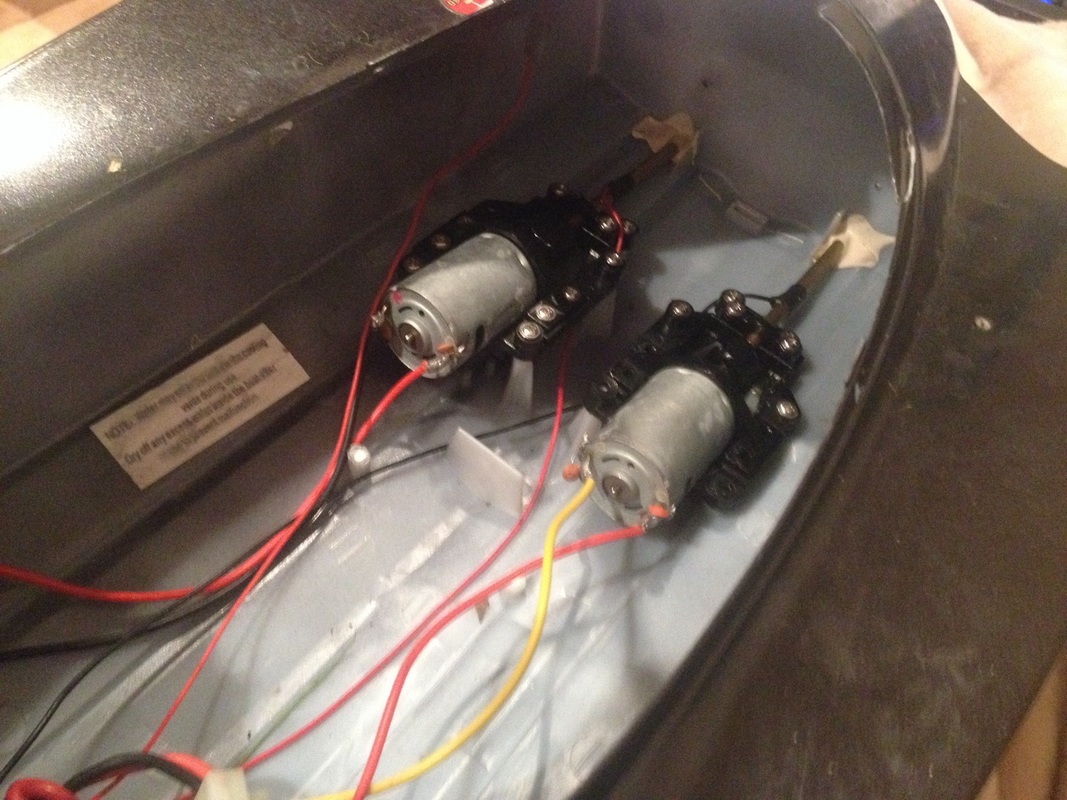
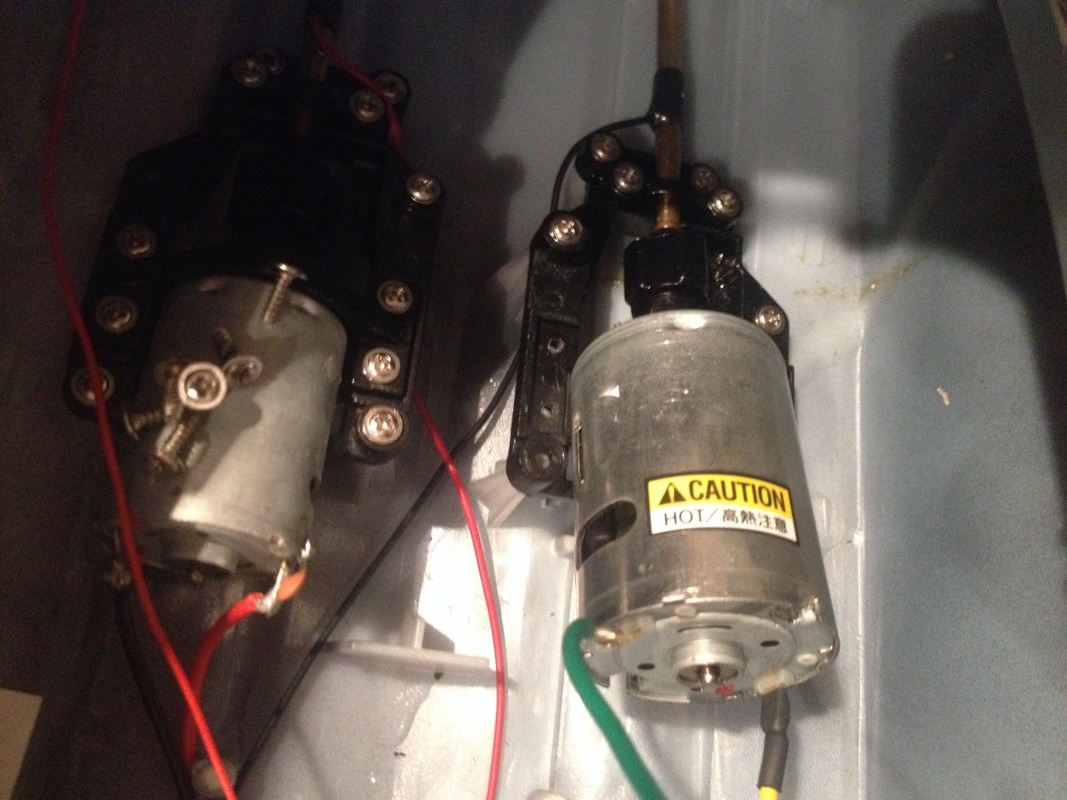
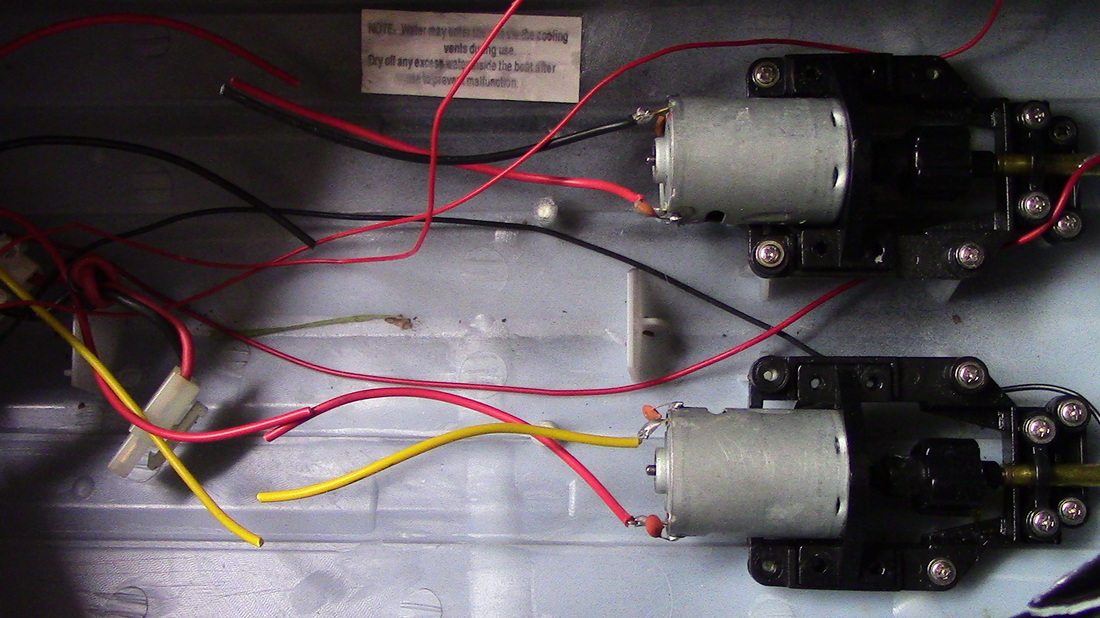
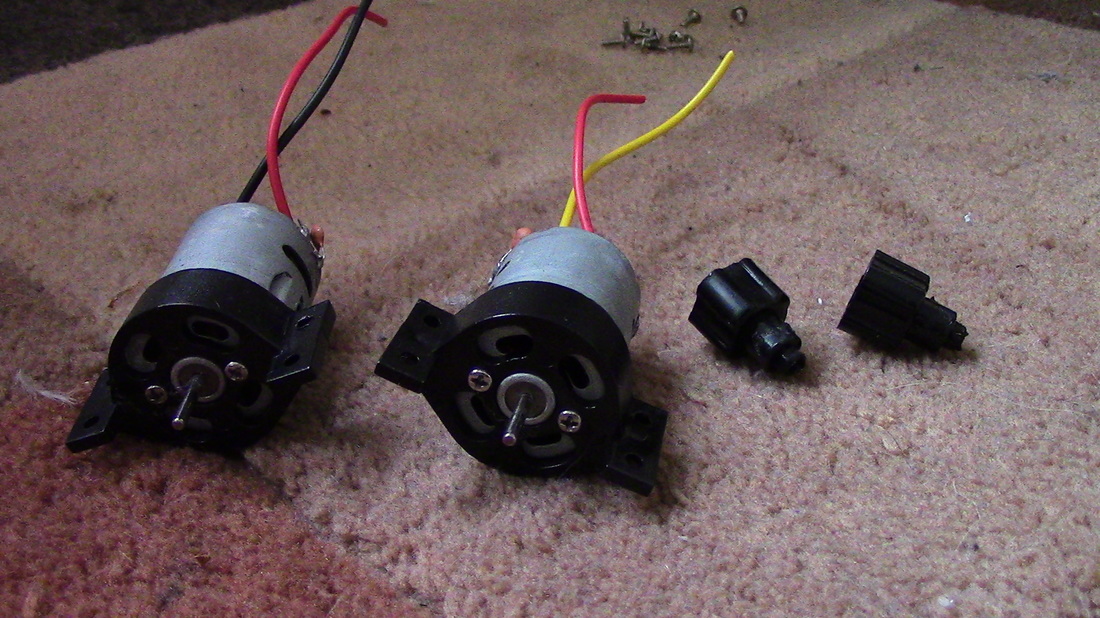
Here you can see the two 380 size brushed weak motors
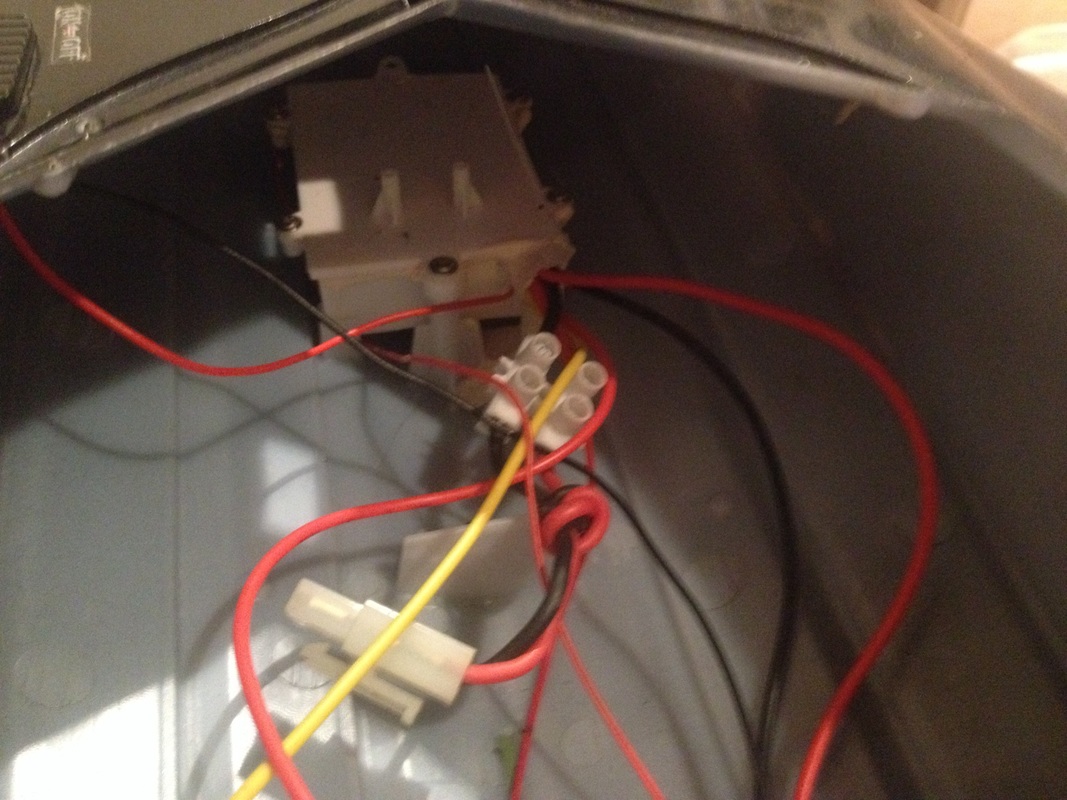
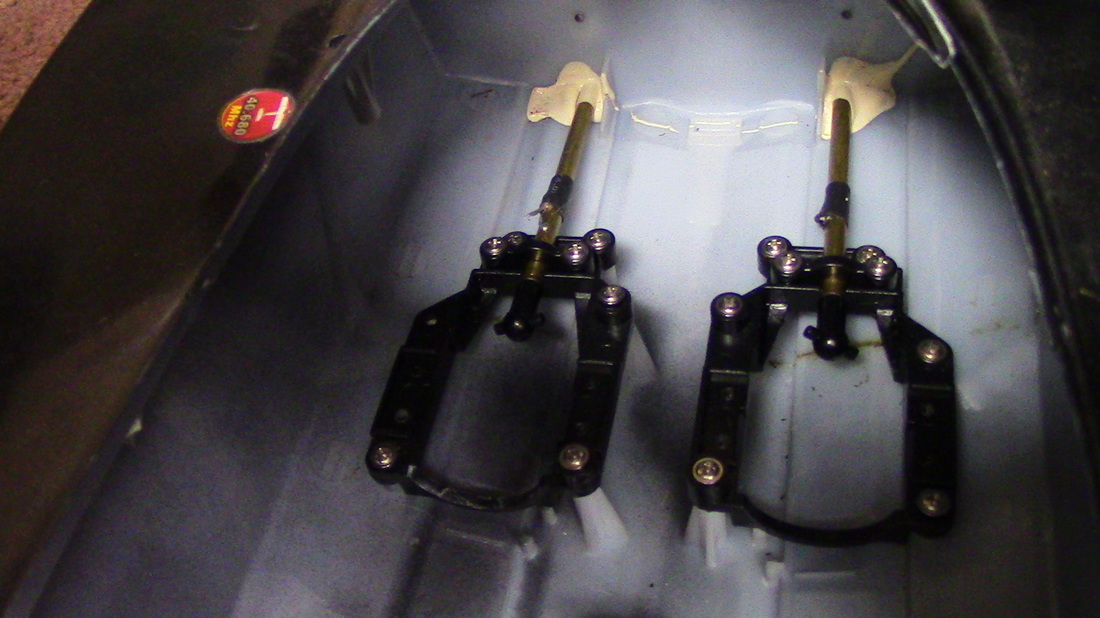
And here's the generic esc and receiver combo, with safety measures like two wires connecting to each propeller, making sure the props only turn when the boat is in water. Thanks to the boat getting stuck on a plank of wood that feature will definitely go.
Attempt number 1
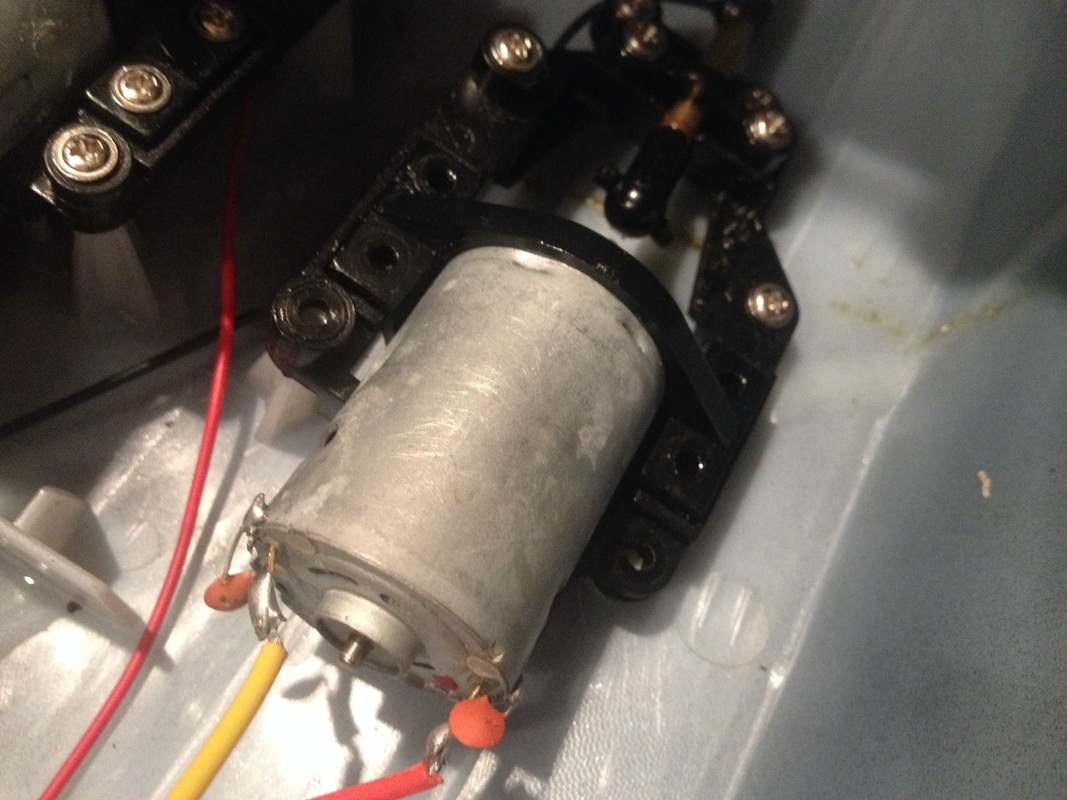
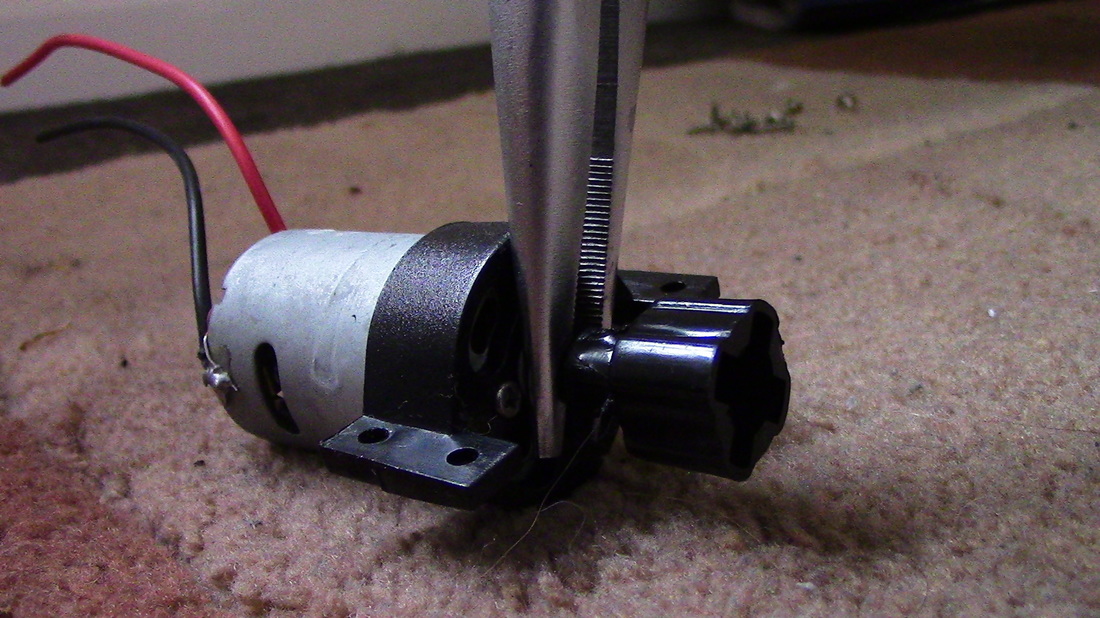
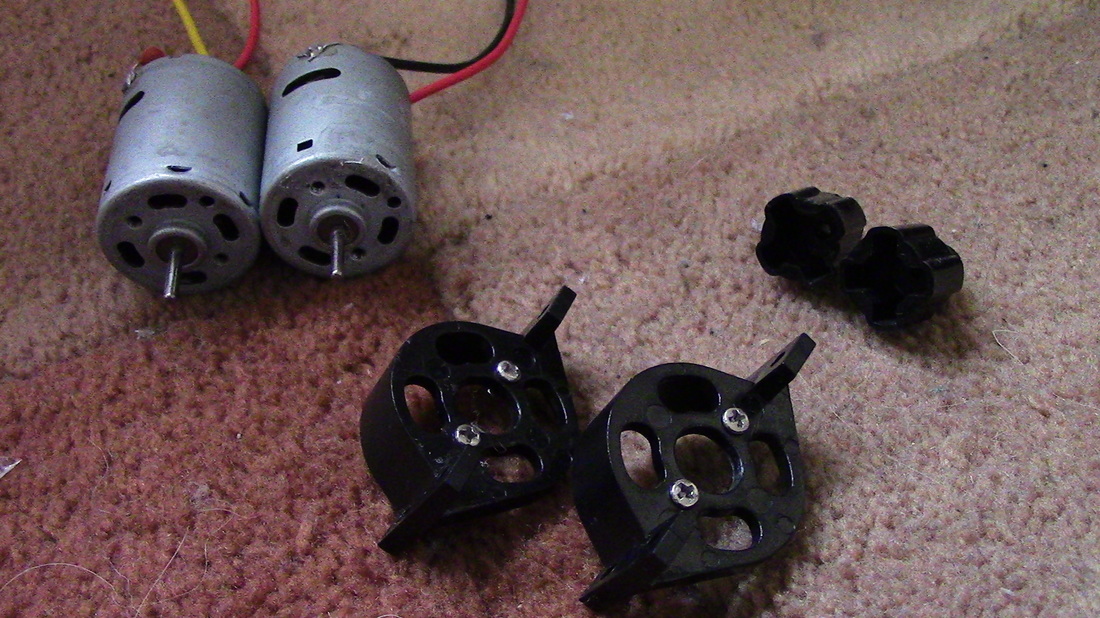
I decided to start my first attempt at just upgrading the small 380 size motors to much more usable 540 size. I began with unscrewing the 4 screws (2 on each side) holding the motor to the prop shaft.
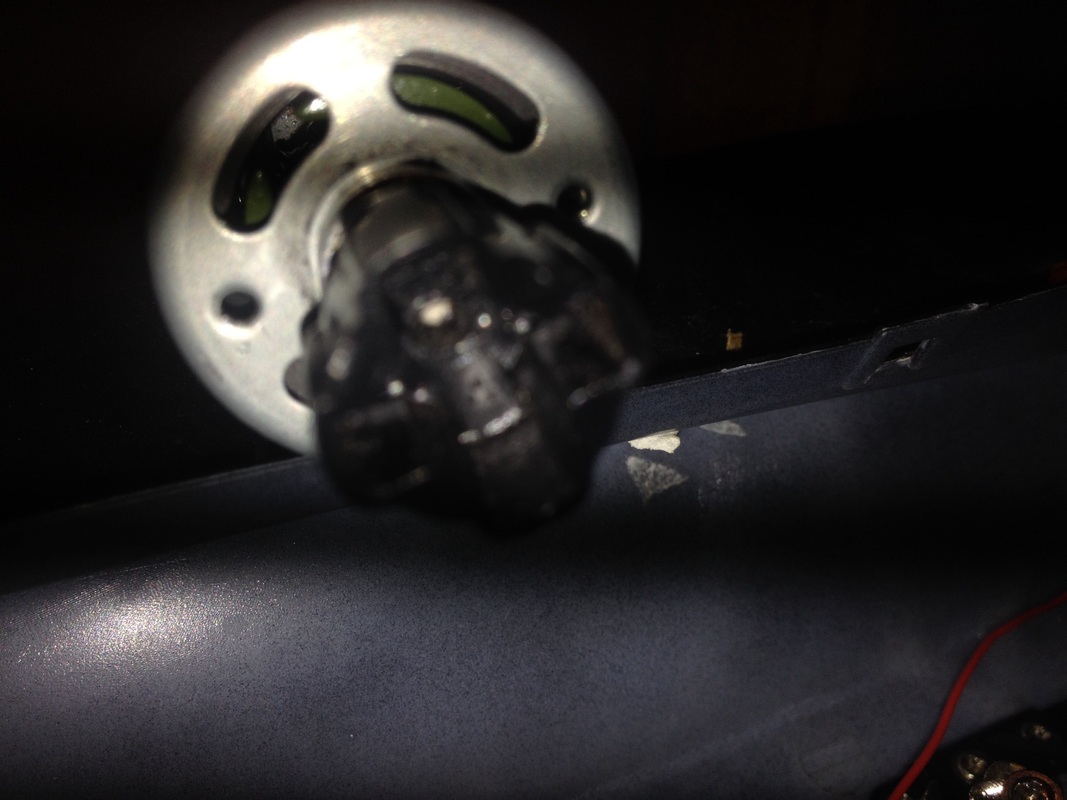
Then by taking off the black plastic motor connector, i widened it with a screwdriver to fit on a 540 size motor shaft.
Just by putting the motor loosely in place i realized a mod like this would require so much modification i scrapped it, plus all the other upgrades would add up anyway.
Attempt number 2
So. I'm looking around for just upgrades for a twin motor with no rudder. My instant thought was the WP 860 from hobbywing (shown below) which has two brushed motor connectors would work for this. It turns out its just for throttle, a rudder is required. So i continued looking

This esc has two motor connectors, which seemed ideal at first. Never mind then!
attempt number 3
Finally, i came across someone asking in an rc forum the same problem as me, and thankfully the genius shown below had the idea that got to me, using a flight controller and use delta wing mixing (V wing mode).
Forum link: www.rcgroups.com/forums/showthread.php?t=1166701
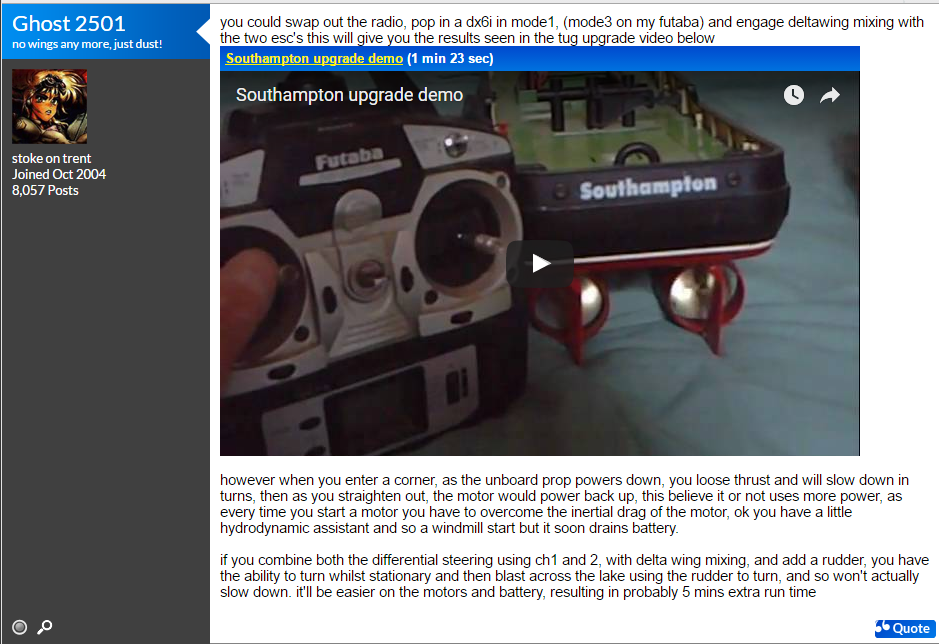
As shown this is the super helpful man who solved my problem! The basic description of Ghost 2501's solution is the use of delta wing mixing, where a plane's flaps used for turning left and right have the same use with pulling up and going down. From this i have learned i need a controller with delta wing mixing or V tail mode.
So now is the time to start thinking of equipment. I'm quite into FlySky products as they are great for the price, and the FS-T6 seemed perfect for my needs. For that i turn on the V wing option and use the throttle for acceleration and right stick for steering just as a delta wing (V-wing) would be programmed.
Video of the FS-T6 on V tail mode: https://www.youtube.com/watch?v=hWFJmB9Xfu4
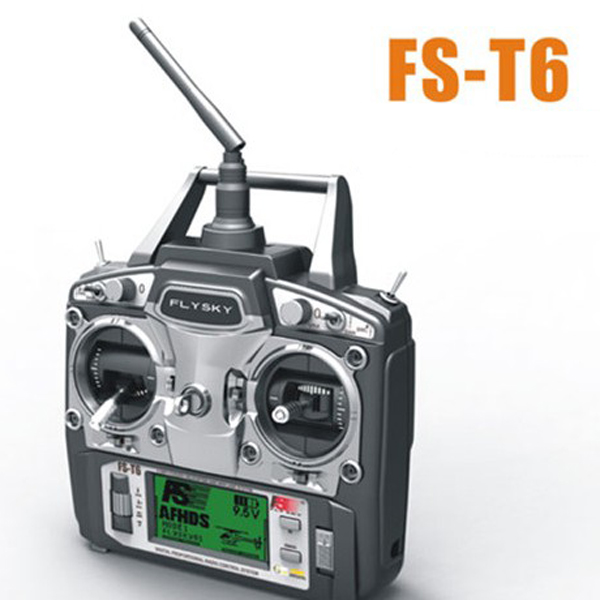
Shown above is the FS-T6 radio set, featuring the V tail mixing i require.
So now i need the motors. I wasnt looking for nothing insanely expensive as practically anything is an upgrade, and to stop me from doing too much modification i decided to go for a 1/16 scale brushless system because the stock motor sizes are 380, so just upgrading to 380 sized brushless motors is ideal, and here's what i found. Its insanely cheap and supports a maximum of 2s, which is perfect for the batteries i've chosen, and gives me confidence that this will go fast.
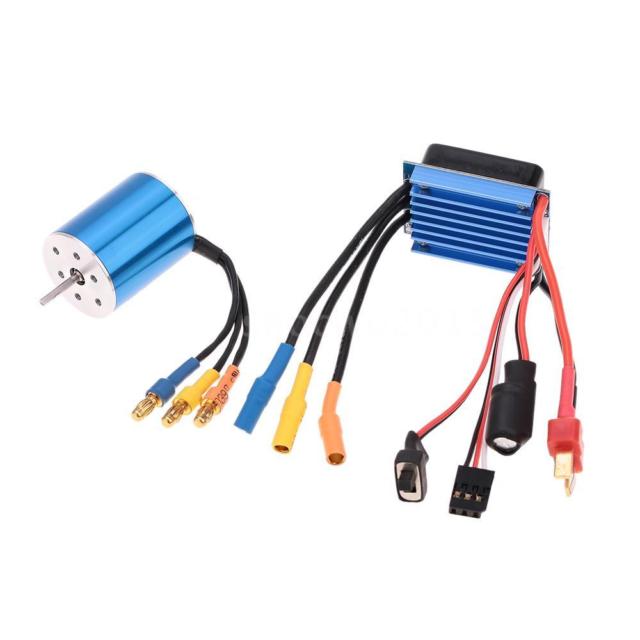
Heres the system. Everything is in order, with the right connectors included and the small 380 size motor will require no modification to the mounting plate. One problemm though is the esc. Its ok but its mnot waterproof. This means (again thanks to the rc community) I can buy a can of 'plasti-dip' and waterproof it. I will also take extra precautions like blocking up any 'air vent holes' present on the boat.

Here's the plasti dip, a sealant used to waterproof the reciever and the esc of the elecdtronics.
But there was also quite a large thought on the battery. After thinking for a while my initial first thought was the 2s Floureon hardcase lipos, and after seeing that the esc's on these are 2s compatiable i insinctively went with the x2 pack of theese 5200mah lipo's. These will last for an extremely long time while giving my boat an extreme amount of power.

These batteries will produce more than enough power for my boat upgrade. and will last a long time as well. Not as much to say for my esc's, which being generic probably will blow up from these lipo's.
03-06-16
And it begins!
So finally, after weeks of working for neighbours, i got enough money to buy the parts to make this project happen.
Although i have the parts, i had to completely strip down the boat of its electronics.


I'll be very glad to see that very long antenna and that 40.680Mhz sticker to go


Here's a view of the stock electronics, and too i'll be happy to see them go straight in the bin.
i started by snipping all the motor wires and the safety wires connected to the motor shats.
Now using a pair of pliers i removed the motor connectors from the shaft of the motors, suprisingly no pinion is used to hold them in place, just friction, so when i upgrade the motors i will use superglue
Now here's wht weve got so far. Now to remove the motor mounts.
Now you can throw away the old motors if you want, i will be keeping mine as spares if the cheap brushless ones fail.
Here's a shot of the motor brackets.
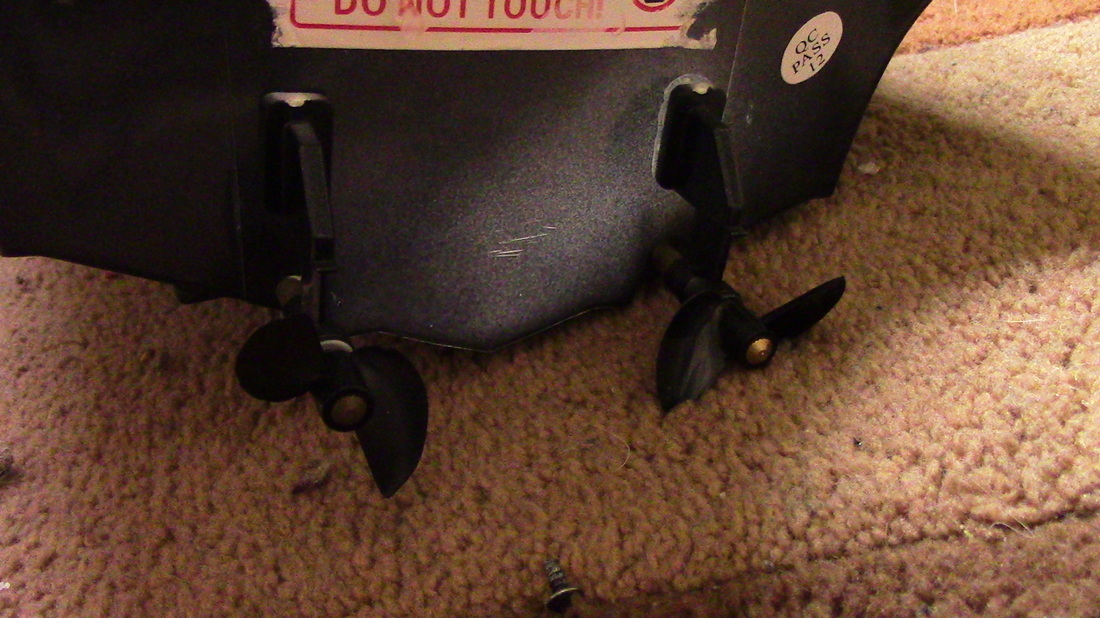
While i was looking at the motor brackets, it occured to me that the props were self tightening, which explains why the stock boat has no reverse. So in order to stop the props from coming off witin the water, i decided to superglue them on.
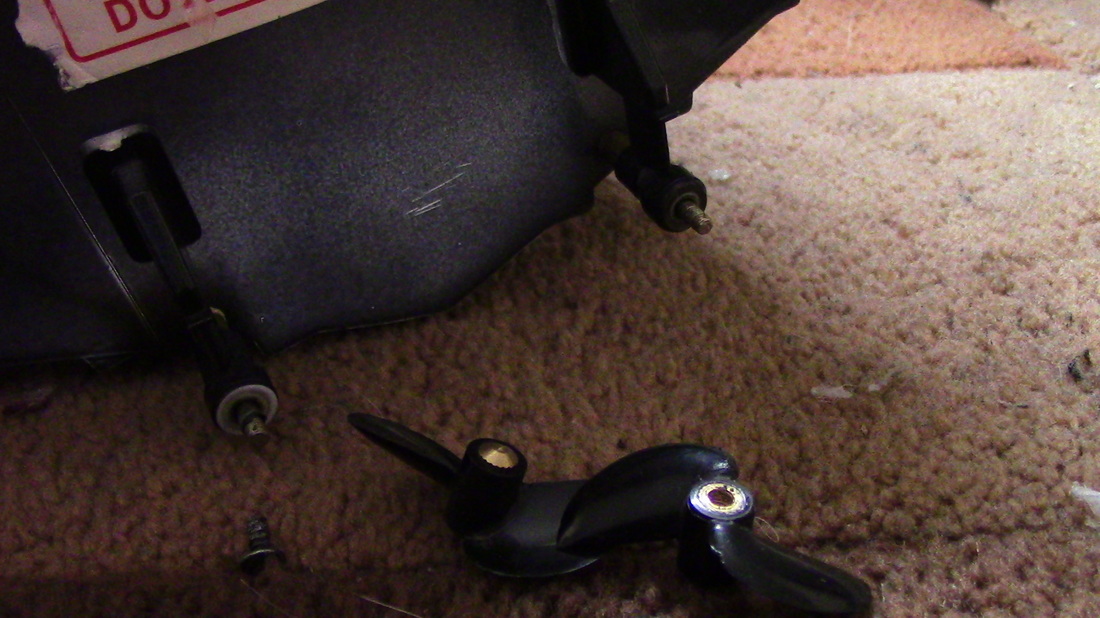
While i was at it, i removed the shafts and used some WD-40 on them to keep it lubricated. If you do this be careful not to superglue the shaft to the boat hull, which will seize the shaft, and stop it from turnning.
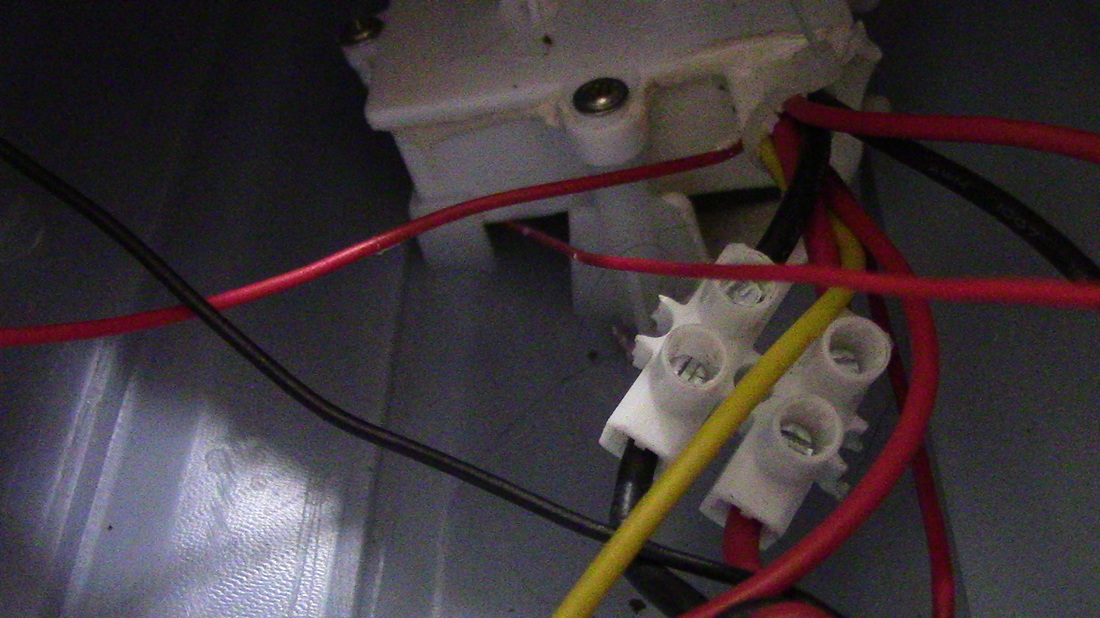
Now i turned my attention to the reciever box.
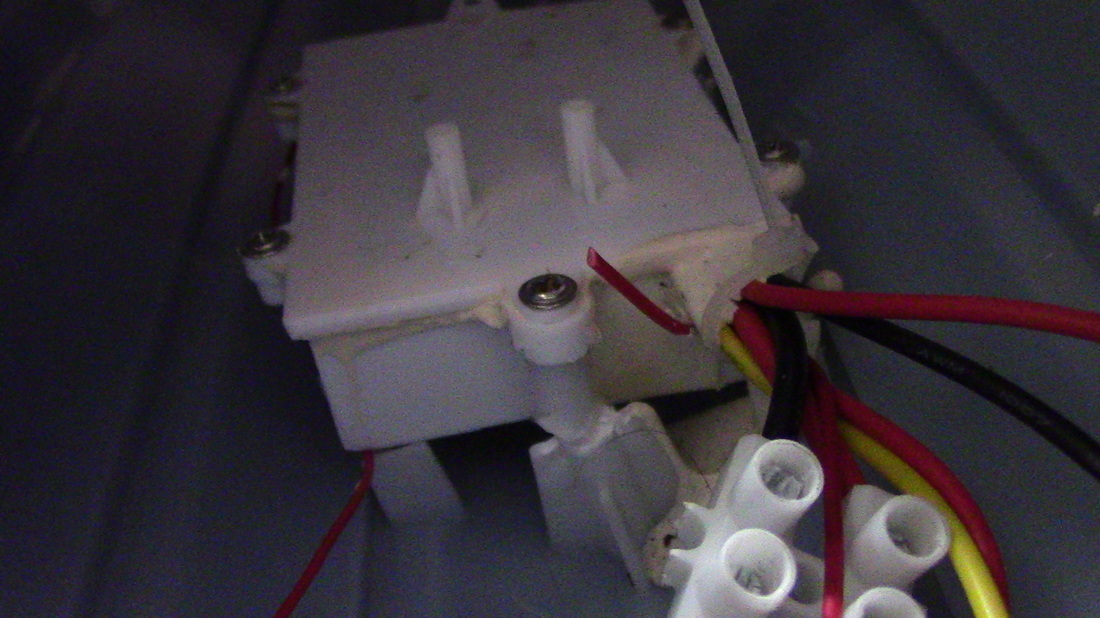
So by using a pair of pliers, the front post simply snapped, leaving the reciever box easy to remove.
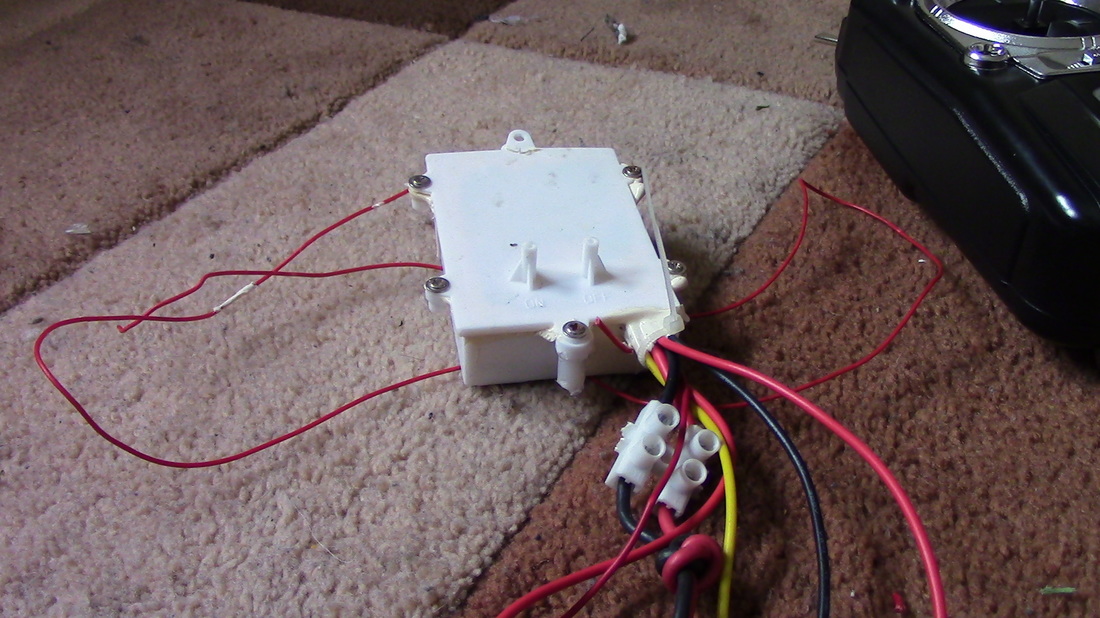
And here's the reciever box, ready to go in the bin.


But before i threw it away, i had to look inside just to see the electronics. I was happy thjat they at least used silica gel packs on the inside at least, although the case was half open when i removed it, and must have been like that the whole tile (not photographed)
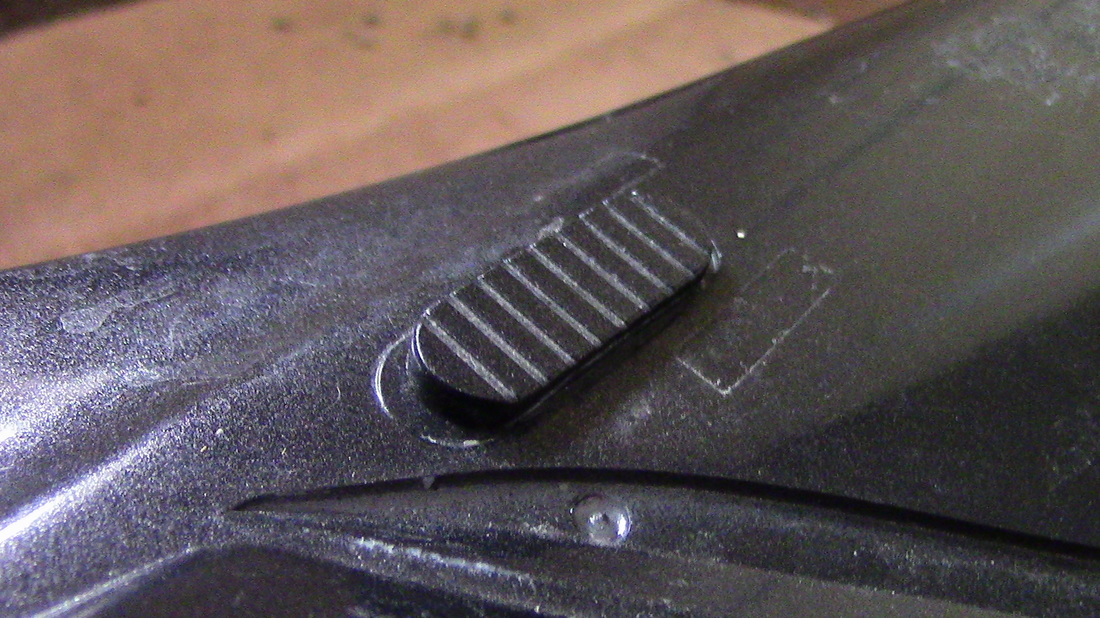
And after seeing the switch on the top, i knew i would never use it so i took off this black switch cover and unscrewed the switch on the inside and binned it, and superglued the switch cover to the hull as shown.

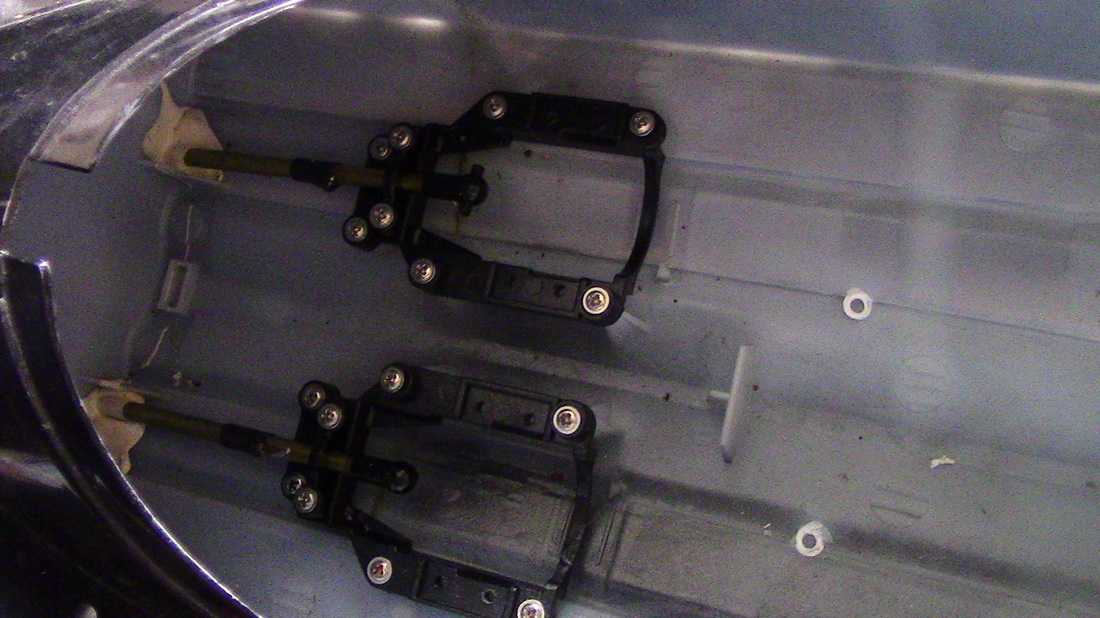
Here's a few shots of the bare bone insides. The battery box holder parts i've left in for now as i didn't want to risk making a hole on the bottom of the hull. i may remove them if they get in the way of the batteries.
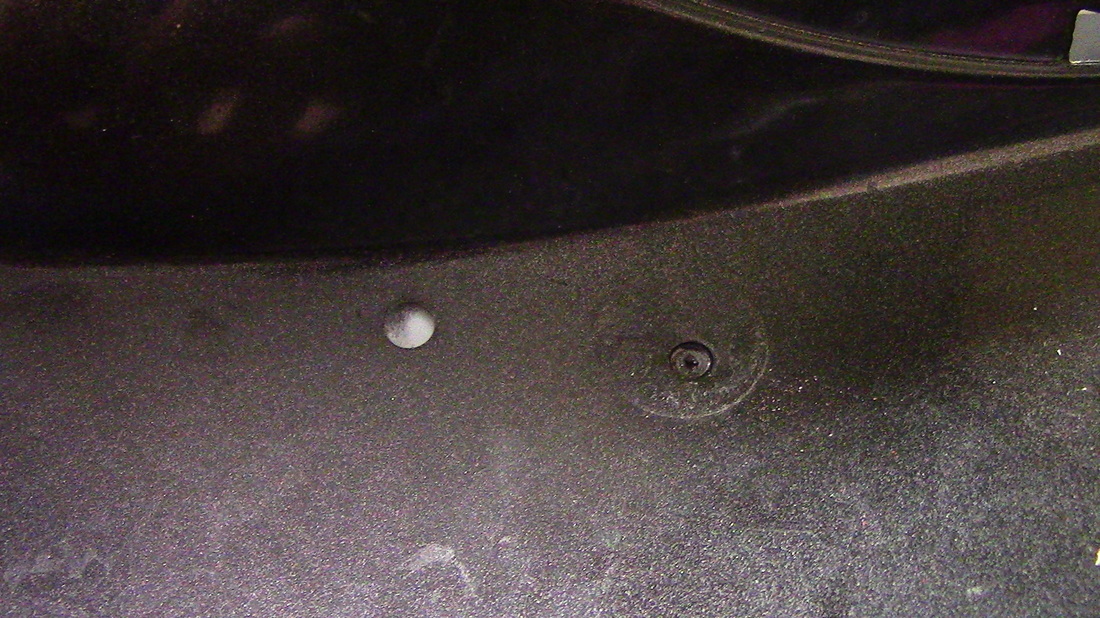
and of course i couldn't leave the 40mhz sticker on, and so that's gone. I will also plug the antenna hole with hot glue later on.
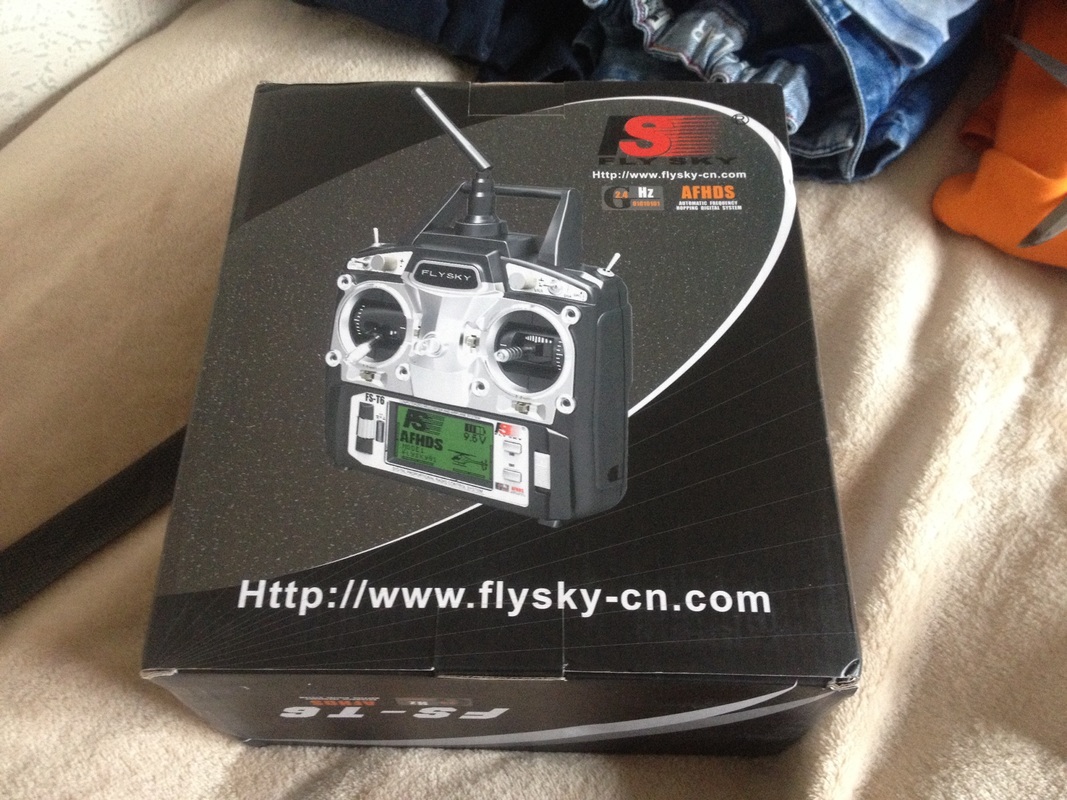
So now i started on the new parts. The first to arrive was the FlySky FS-T6 remote control.
So now i started on the new parts. The first to arrive was the FlySky FS-T6 remote control.
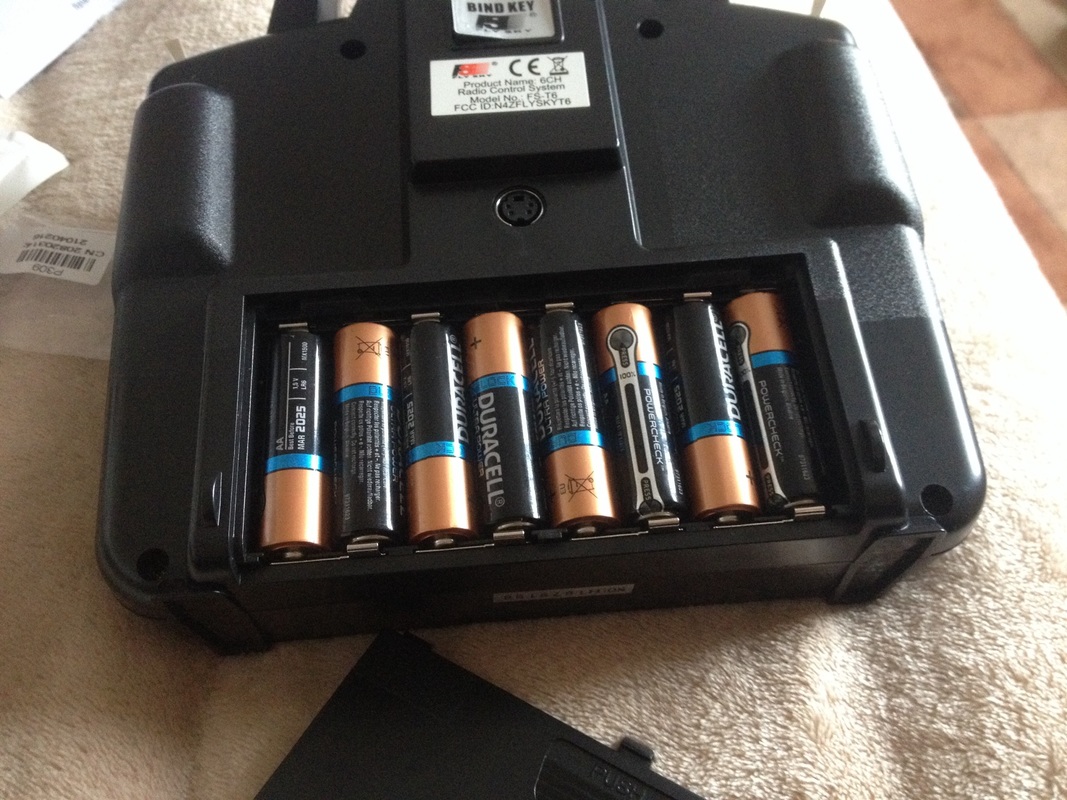
After installing the 8 AA batteries in the back it was ready. Later on i did a modification to it to accept a lipo battery, but i will show that later.
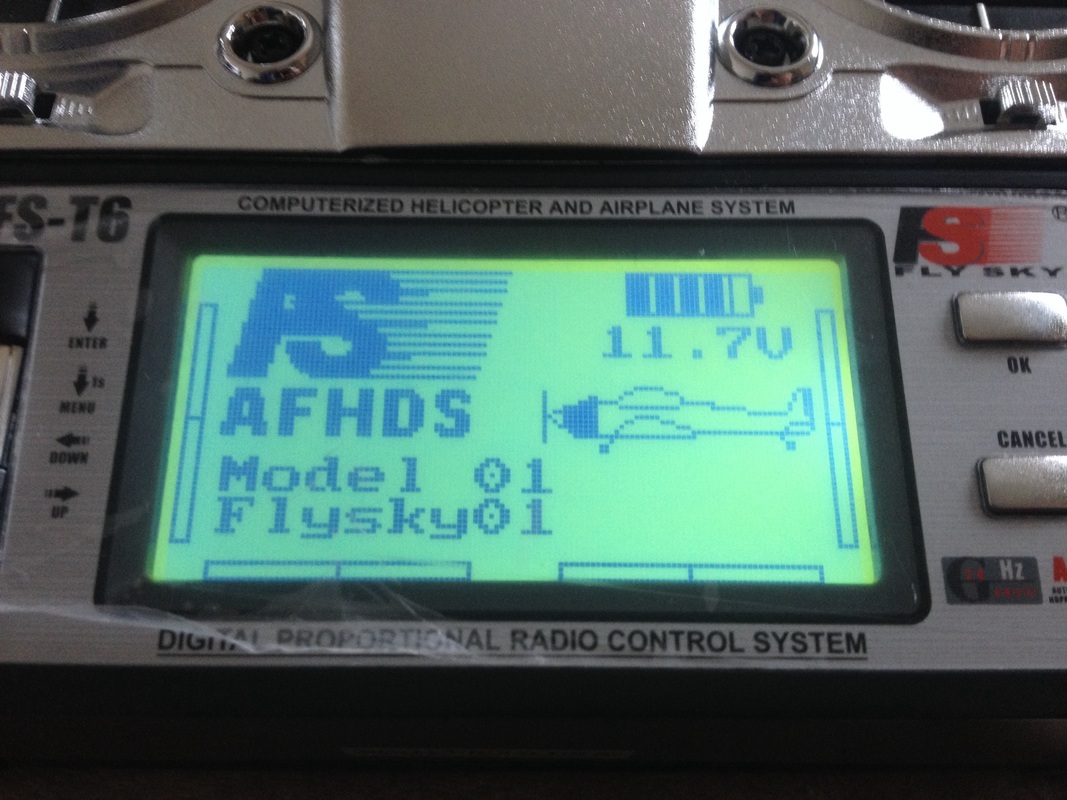
After turning on the controller i got a good impression that i got my money's worth, even when the pricing went up when i paid for it. (The battery voltage shown in the top right is from the controller and not from the plane/heli (Boat in my case)
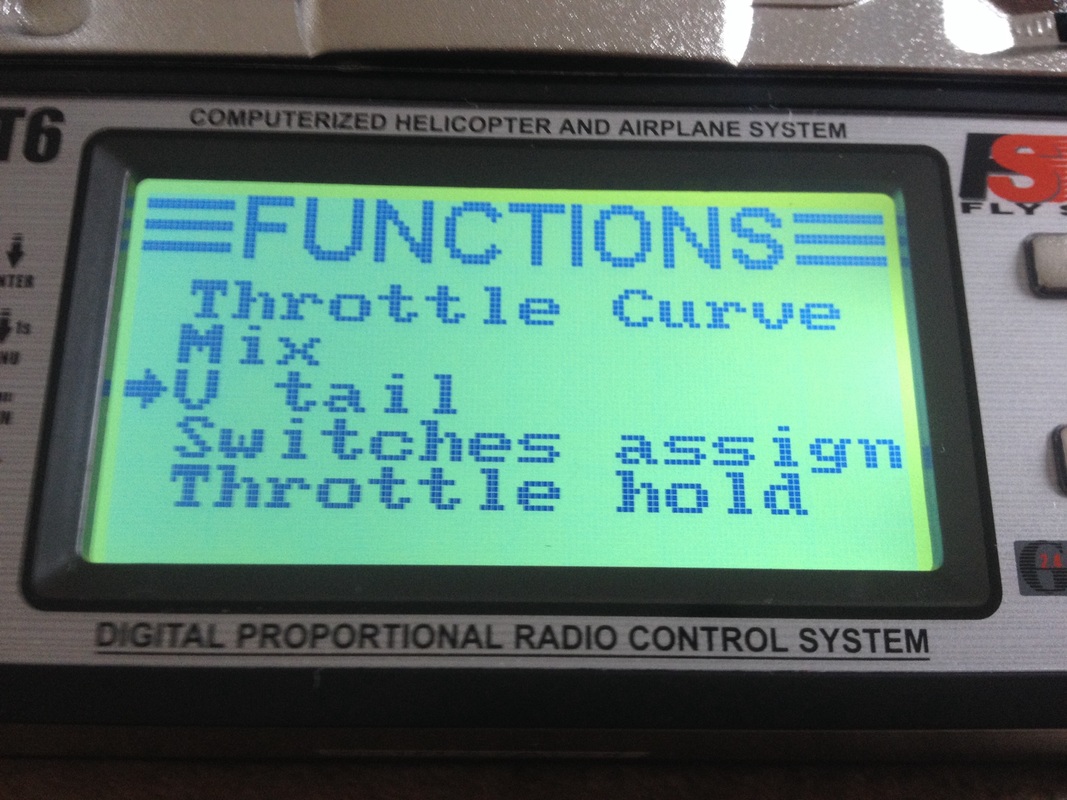
By looking through the menu's i found the V tail option, almost right at the bottom of the functions after completely setting up the controller in the menu's.
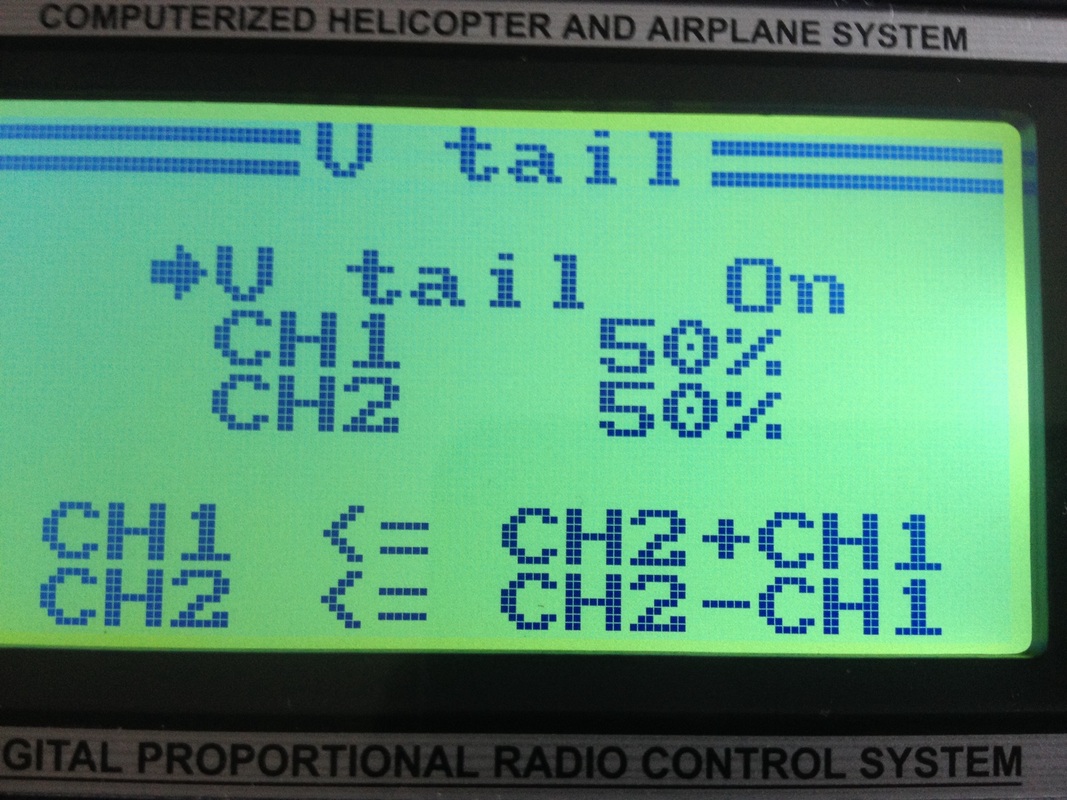
Here's the V Tail menu options. The only changeable option on this is the percentage. The modes of what stick directions is not changeable, but i originally wanted to change this, so the throttle used the Y axis on the left stick and steering as the X axis on the right stick. So i had to think otherwise.

i almost gave up on trying to make the left stick the throttle when i found the sticks mode, and by default it comes as mode 2 (NOT pictured), but by changing to mode 1 (pictured) Channel 1 became the X axis (steering) and channel 2 became the throttle on the left stick.
(Later i changed back to mode 2 as the throttle stick did not spring back to the centre, an that's where neutral is, and the boat would be less crash able if i controlled it all with the right stick.
(Later i changed back to mode 2 as the throttle stick did not spring back to the centre, an that's where neutral is, and the boat would be less crash able if i controlled it all with the right stick.
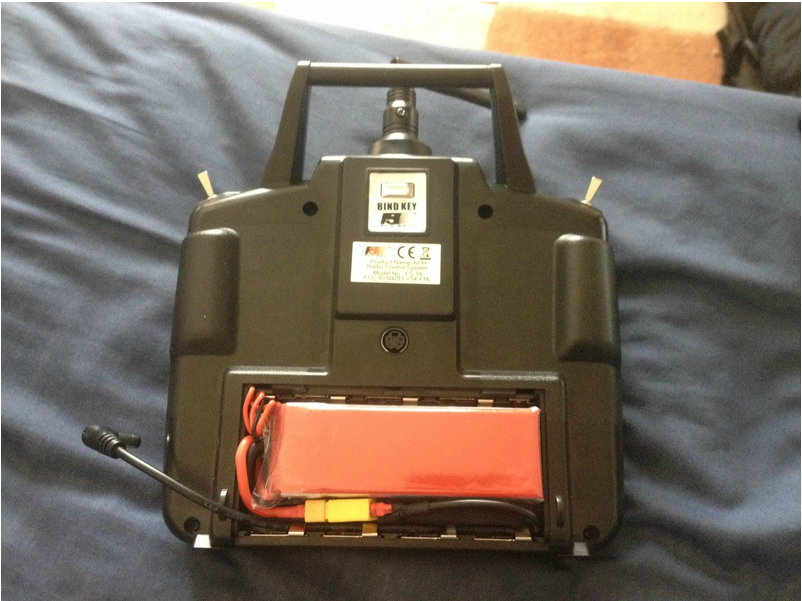
Here's the modification i did while waiting for the other parts to arrive. I wanted to make the controller work on a lipo, but leave the battery tray so it can still be used a backup. so after finding a XT60 to DC adapter lying around, I used an old 2200mah 11.1v lipo to power the transmitter through the DC jack on the side of the T6.